O2 Agri is an innovative agri-tech company specialising in sustainable, patent-pending nanotech solutions for agriculture, horticulture, and industrial waste processing. Their technology helps reduce chemical and antibiotic use in farming while improving animal welfare and reducing carbon footprint. Recently shortlisted as finalists for the British Farming Awards Agri-Tech Innovator of the Year award two years running, O2 Agri is at the forefront of sustainable farming innovation.
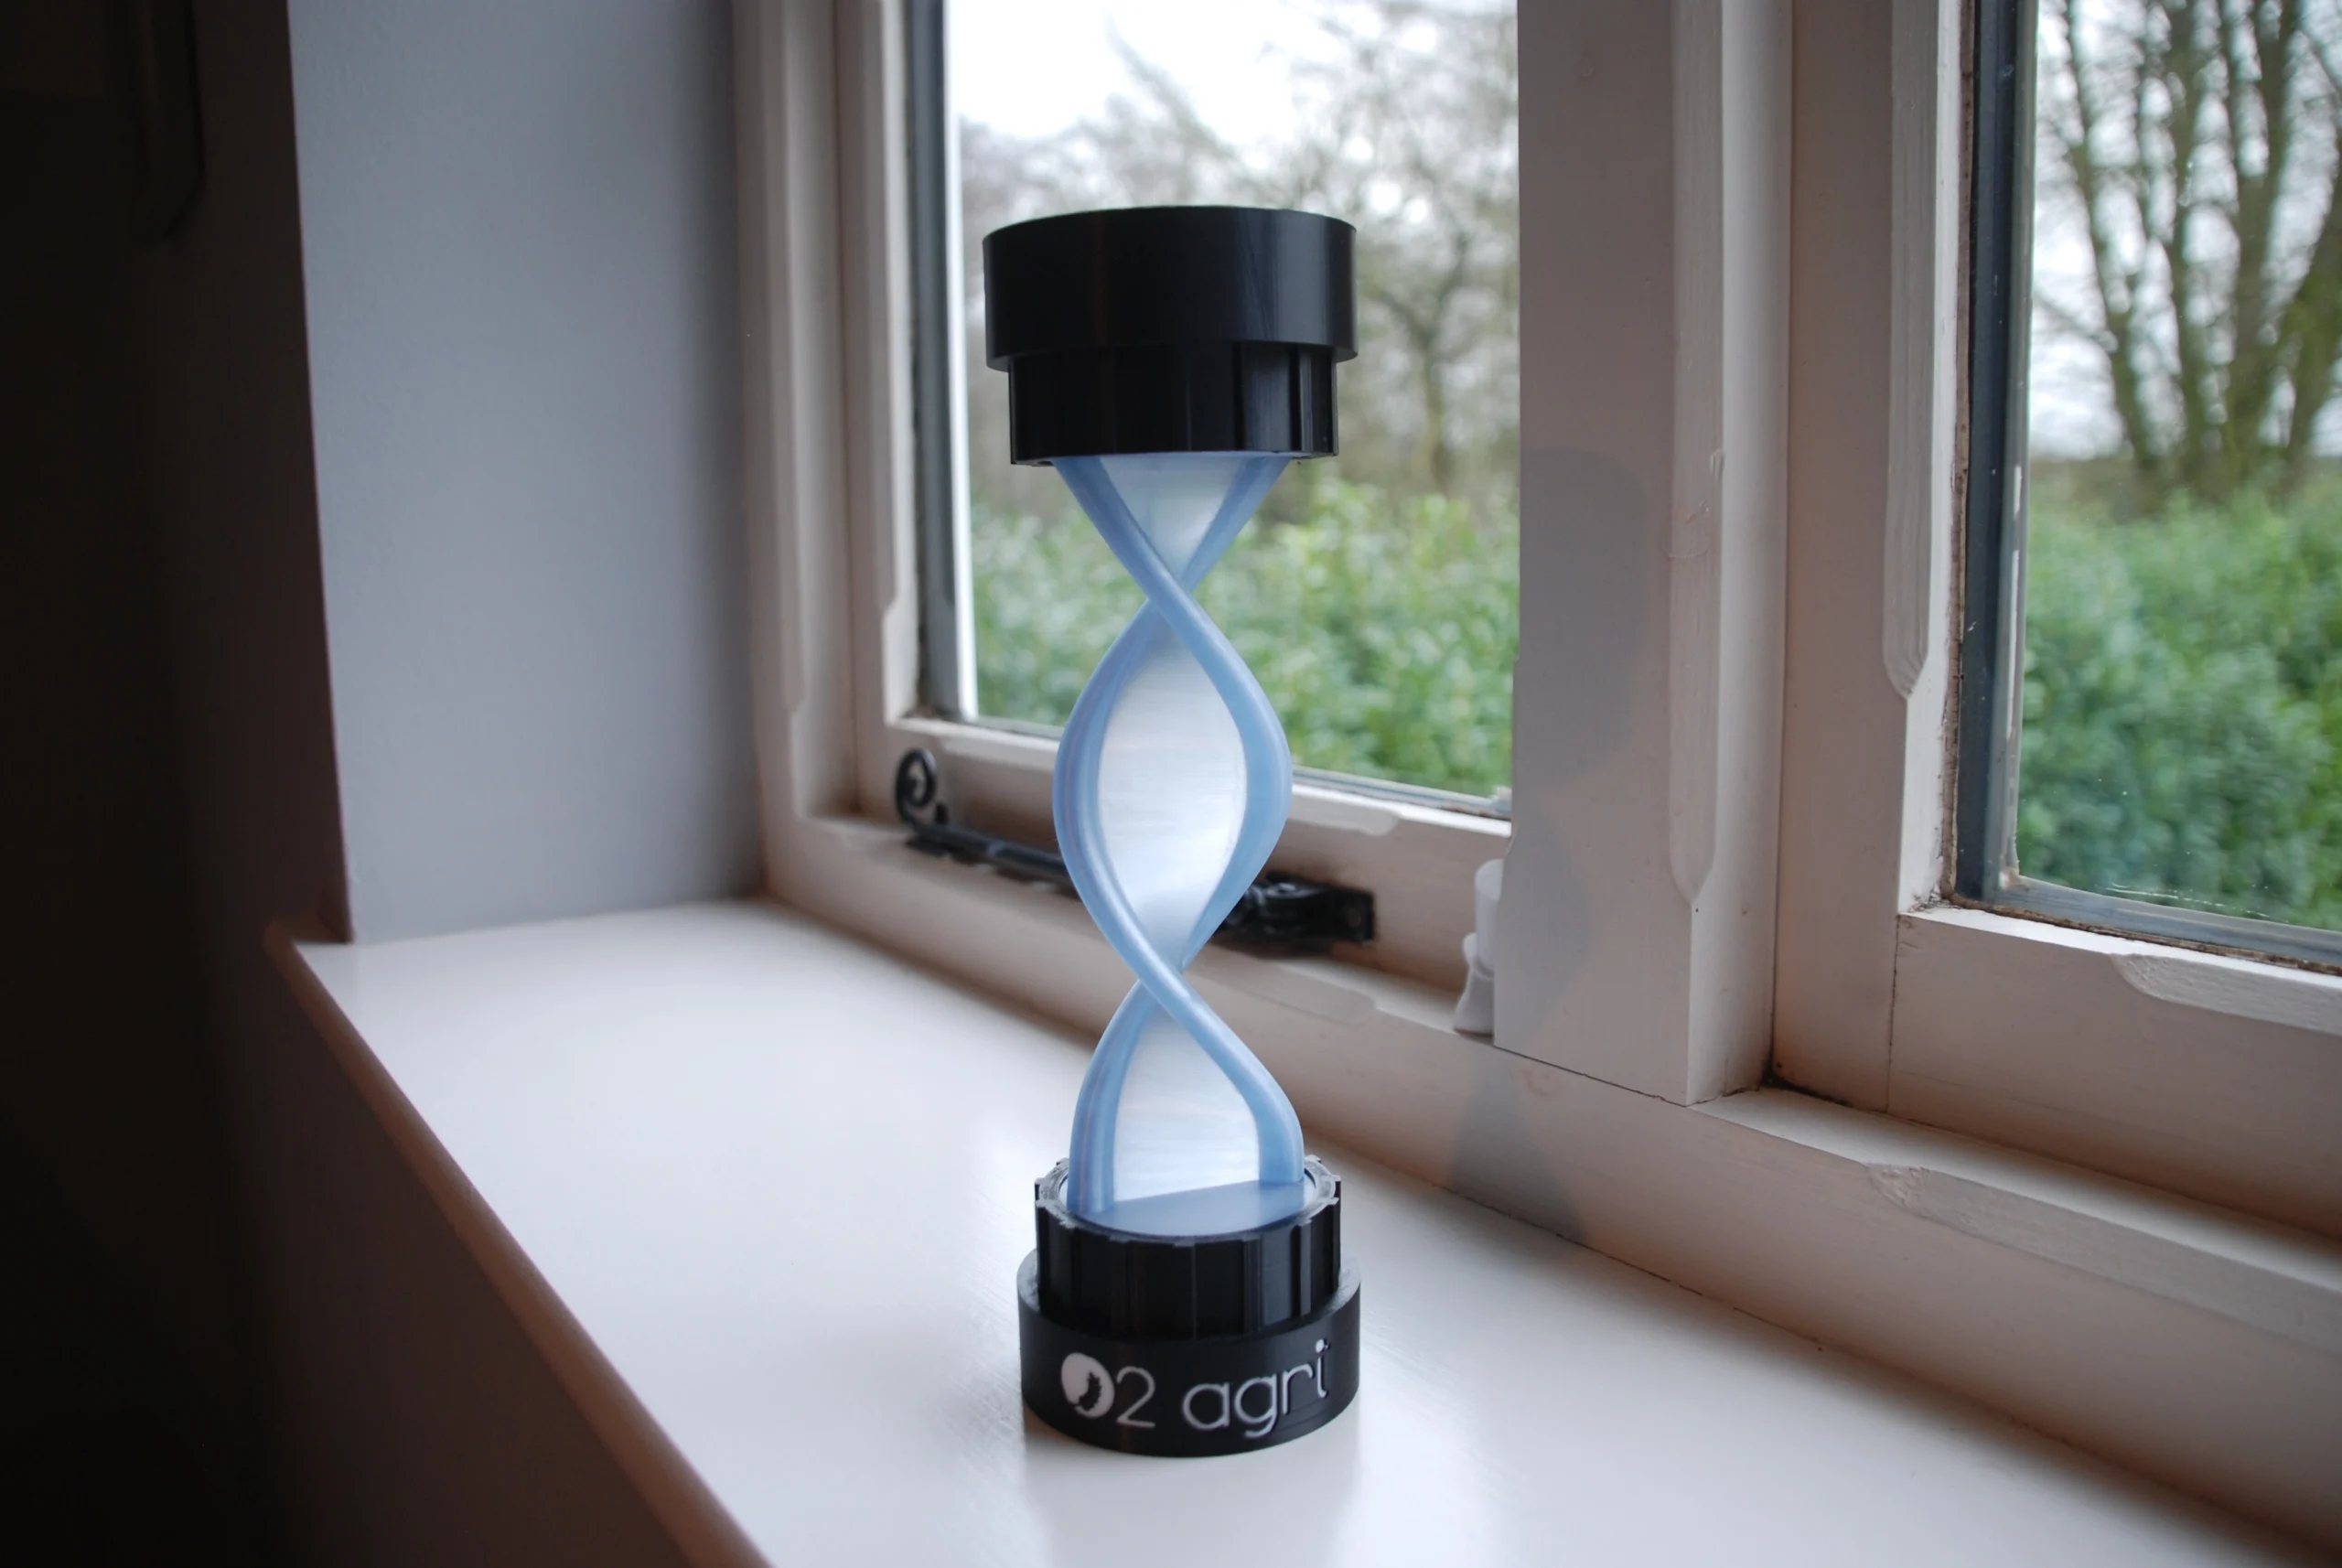
As O2 Agri expands internationally, they faced a significant challenge: their full-scale processing equipment is too large and complex to transport for overseas demonstrations. I was commissioned to design and manufacture a detailed scale model of their process system, a portable, accurate representation that captures critical components while remaining compact enough for international travel.
The project demanded exceptional attention to detail, as the model would be used as a sales and demonstration tool in front of prospective customers, investors, and industry professionals. Every element needed to be accurate, professional, and immediately understandable. The result spoke for itself, the client returned within days to order 2 more units and commission an entirely separate project.
I approached this project as I would any other. I started by identifying the problem, then outlined all requirements and possible limitations. I find this approach works best as it avoids potential future issues whilst ensuring all project requirements are met and kept in mind throughout the process.
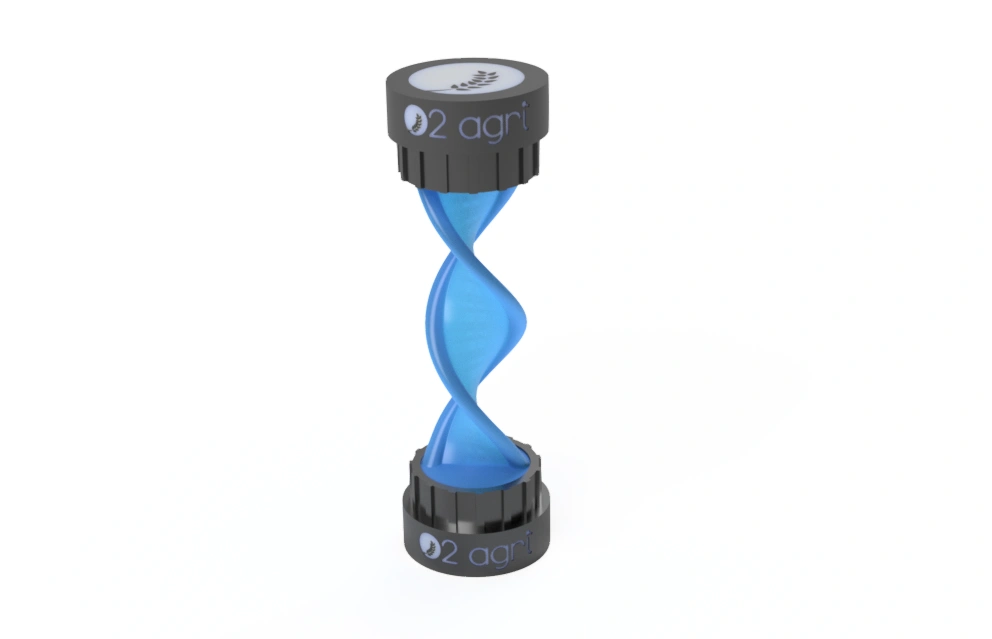
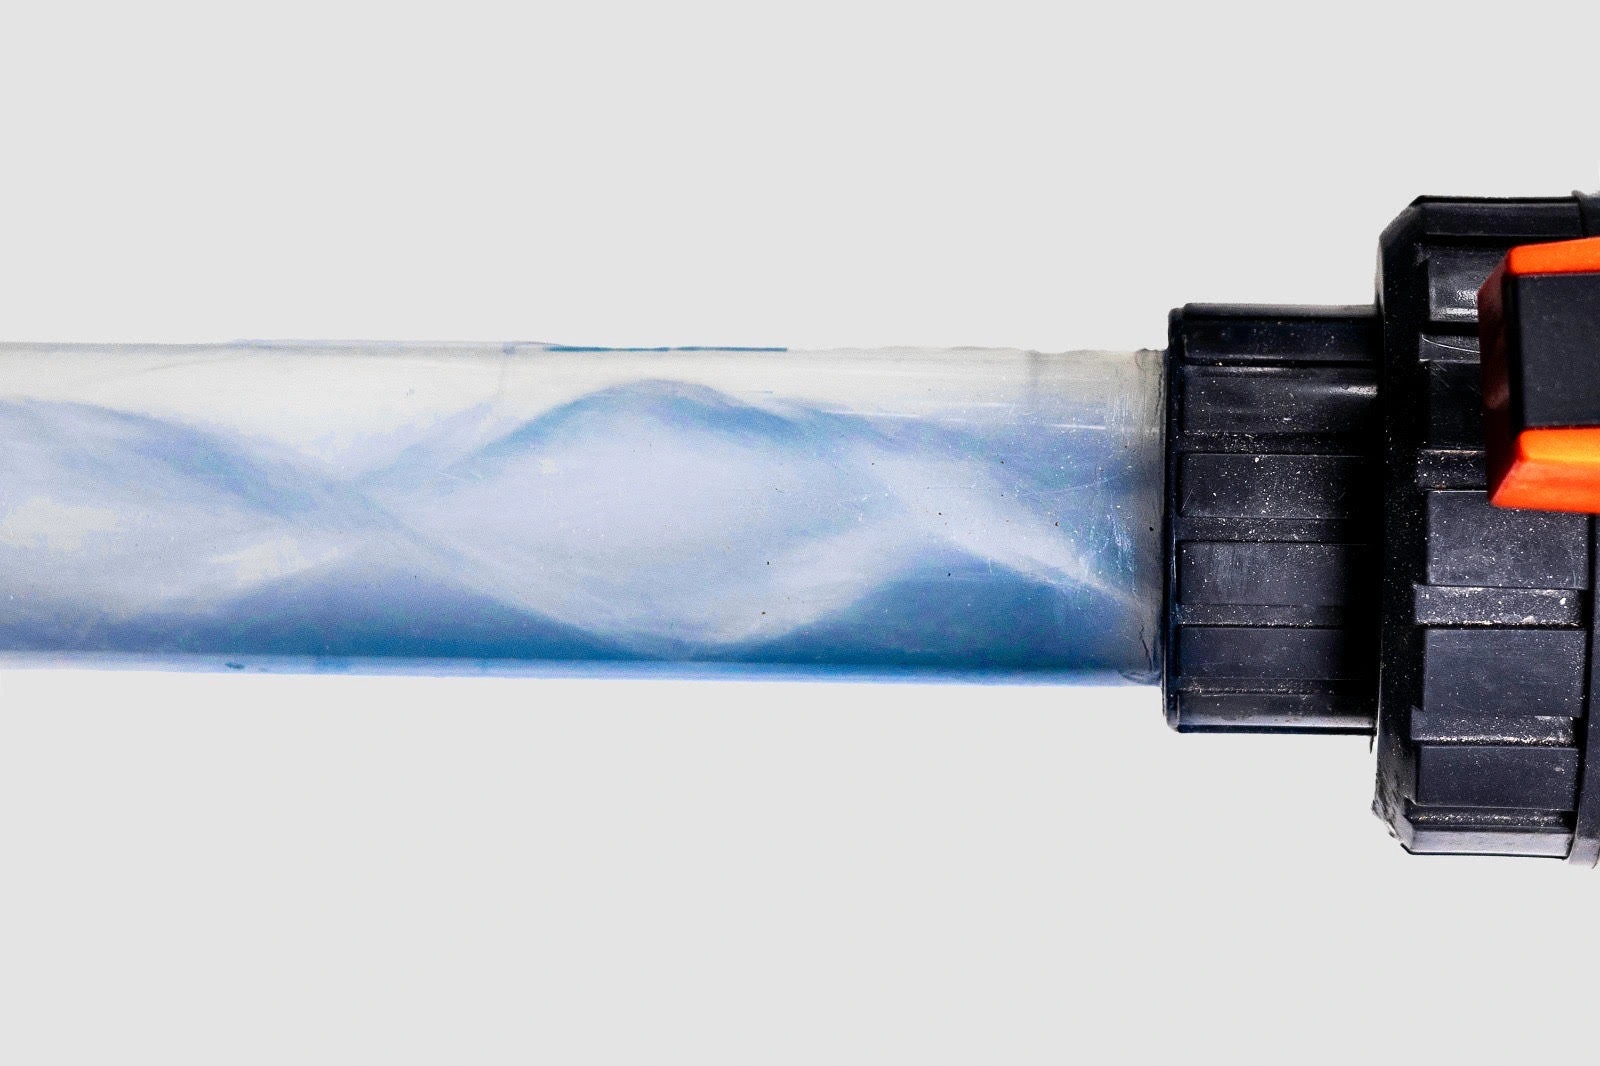
Although I could have immediately begun the CAD design work, it is always best to start with simple hand drawings and measurements. I used the reference picture provided to measure the helix tightness (how many revolutions within a specific length). This told me that the relationship of length to width of one revolution was approximately 4:3. The black base in the assembly could easily be replicated in any material, however the same cannot be said for the helix. The helix represents the nano-sized oxygen particles infusing into the water. I knew that because of this a transparent material would be best as, although not crystal clear by any means, it would still allow light to pass through and bear a close resemblance to the original process. It took three separate iterations of the helix in CAD to result in the final version depicted below.
My two largest limitations were the manufacturing methods available to me and the deadline. I had two weeks to complete this before the customer had to travel abroad. To obtain the best finish I could have outsourced the manufacturing to a process such as SLA, which is capable of very high resolution and is ideal for one-off projects such as this as no mould or tooling needs to be made. Unfortunately this wasn’t possible as it would have pushed the project over budget and exceeded the two-week deadline. For this reason I had to use the manufacturing methods available to me, which was FDM 3D printing.
It was also important to take size into consideration. The product had to fit into the customer’s suitcase for easy travel. Unfortunately my largest 3D printer, the Elegoo Centauri Carbon, had broken, so I was left with my Bambu A1 Mini. This printer has a build volume of 180×180×180mm, which is much smaller in comparison to the Elegoo’s build volume of 256×256×256mm. This was not an issue, just a restriction that meant I had to be smart with how I designed the part. This is called DFM (Design for Manufacture) and is an important process in any project.
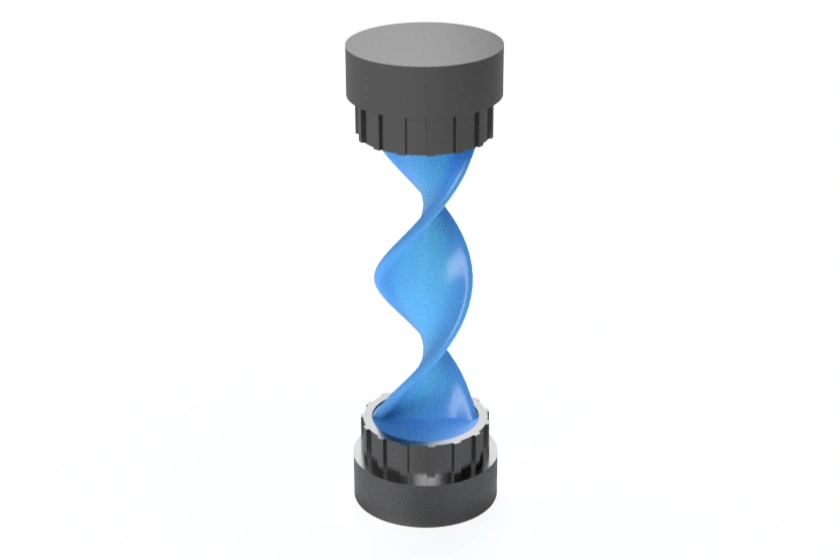
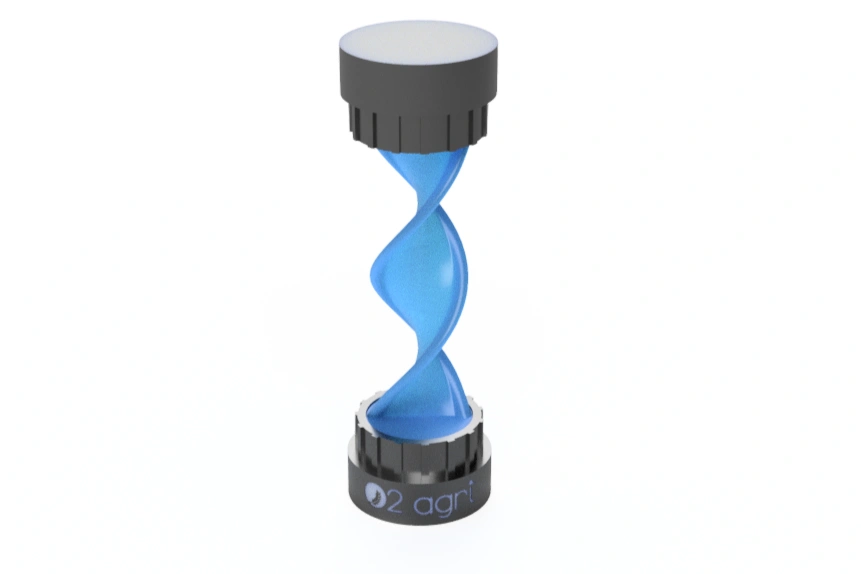
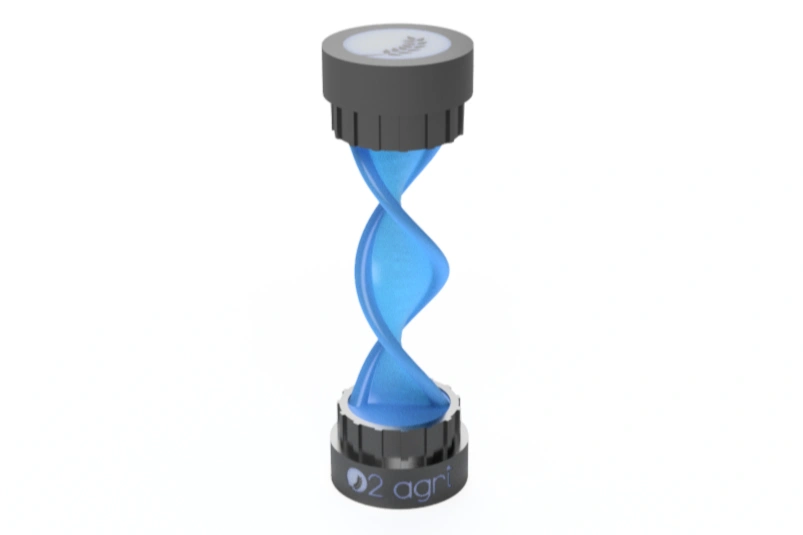
To develop this product, I used iterative design. This consists of designing the product and then using 3D printing technology to rapidly produce a prototype. I therefore can have a prototype of almost anything in my hands in as little as 15 minutes in some cases. I will then evaluate the prototype, learn from it, and then adapt my next iteration with this evaluation in mind. 3D printing allows me to repeat this process, sometimes multiple times a day, until I reach a final prototype I am happy with.
Many modern printers have a multi-material system that allows for composite printing. This can be used to create parts of multiple materials, such as a hard PETG and a soft TPU or maybe the primary material and a dedicated support material for easy removal. It can also be used to print parts of multiple colours.
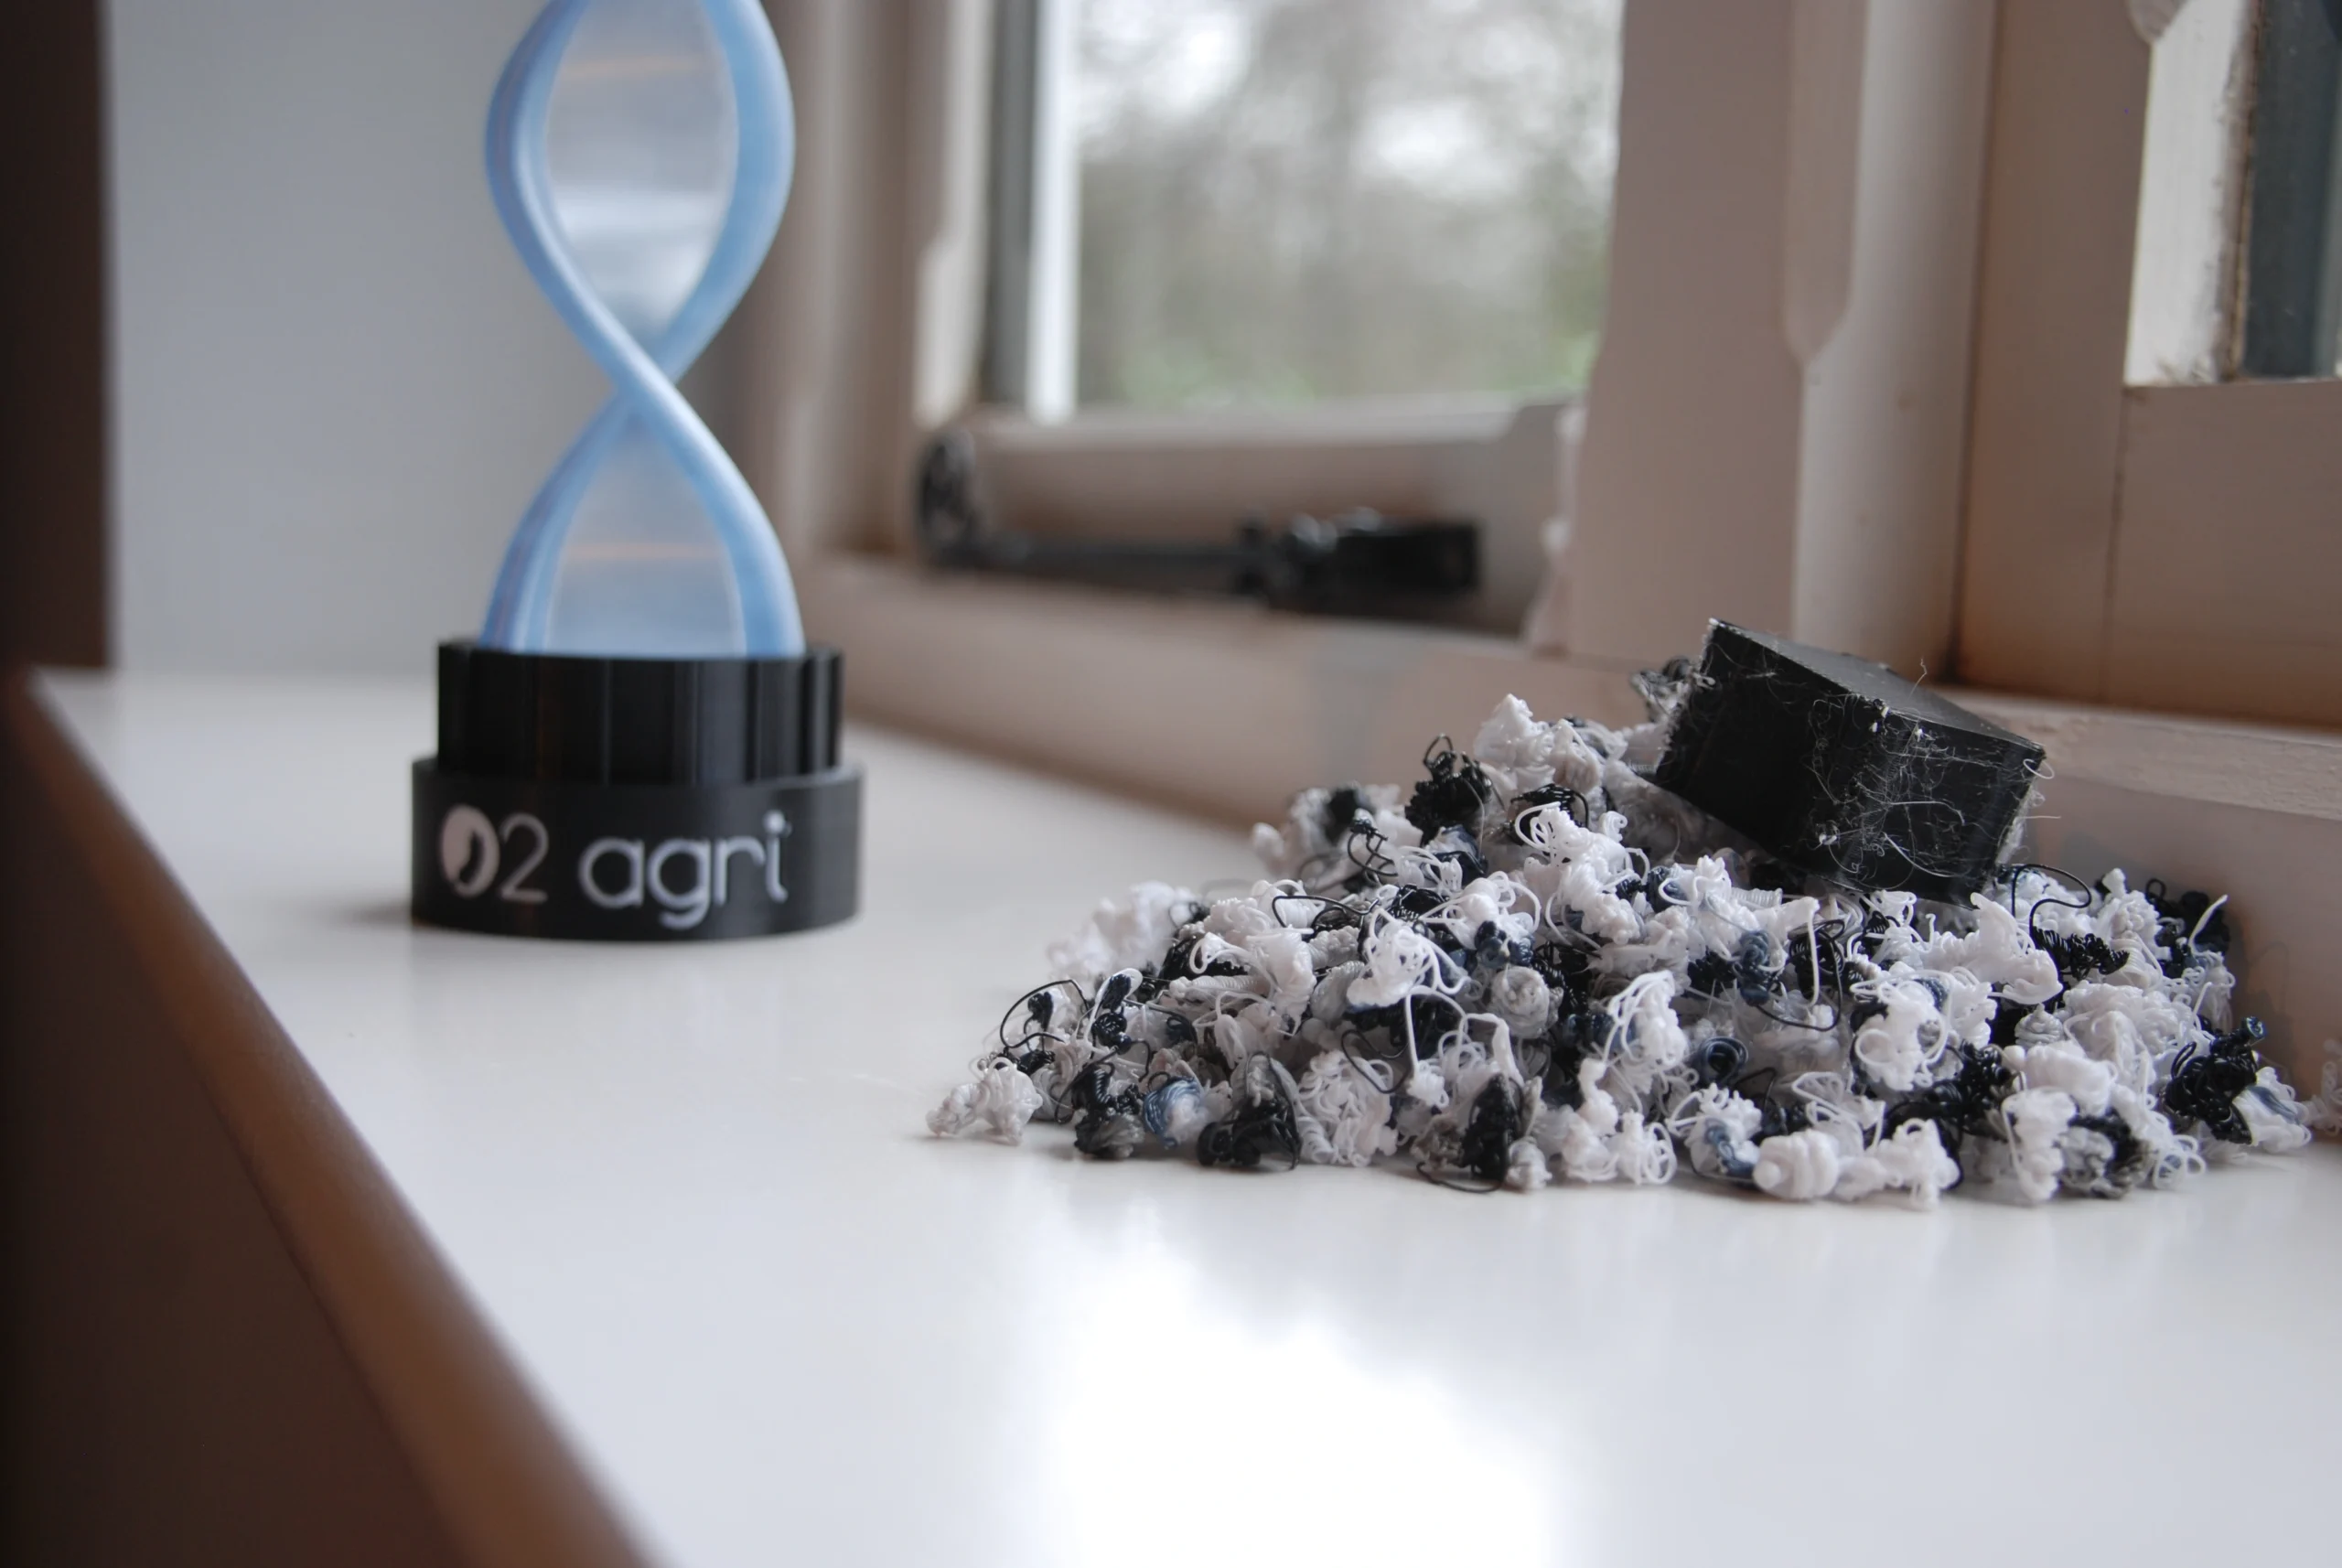
Multi-material FDM printing is typically achieved through either tool changing, multiple active nozzles, or single-nozzle filament switching systems. In this case, I used a single-nozzle with a filament switching system as this more often then not the least costly equipment. As you can see, there is a lot of purged waste material produced using this method as it has a single nozzle. The printer will cut and then retract the previous material, and then insert the new material and purge the nozzle of any old material. A good way to try to avoid waste it to try to keep any material changes to one layer, as if it is spread across multiple layers the material needs to be swapped and purged on each layer rather then just the one.
I chose to use PETG for this project as most transparent materials are PETG. This material also has much better physical properties compared to a more commonly used material such as PLA. This is especially important as the first place this model will be taken to is Australia. PLA has a glass transition temperature of approximately 55 degrees Celsius whereas PETG is approximately 85 degrees Celsius. This is important to take into account, as in the Australian summer outside temperatures can easily reach 40 degrees Celsius and double that inside a car.
Another problem I had to overcome was the flexibility of the helix. The helix is thin, tall, and inherently flexible, meaning that during printing the nozzle would drag the top of the part on each pass, causing inconsistent extrusion and in most cases complete print failure.
So how did I solve this? I first increased the infill to 100% to maximise the part’s rigidity. When this only had a marginal effect, I split the helix into two separate components: the main body and a top cap. Splitting the model this way meant both parts could be printed vertically without overhangs, eliminating the need for supports entirely. With no support structures, the nozzle travel path was significantly reduced, which in turn greatly reduced the chance of the nozzle snagging the upper portion of the print.
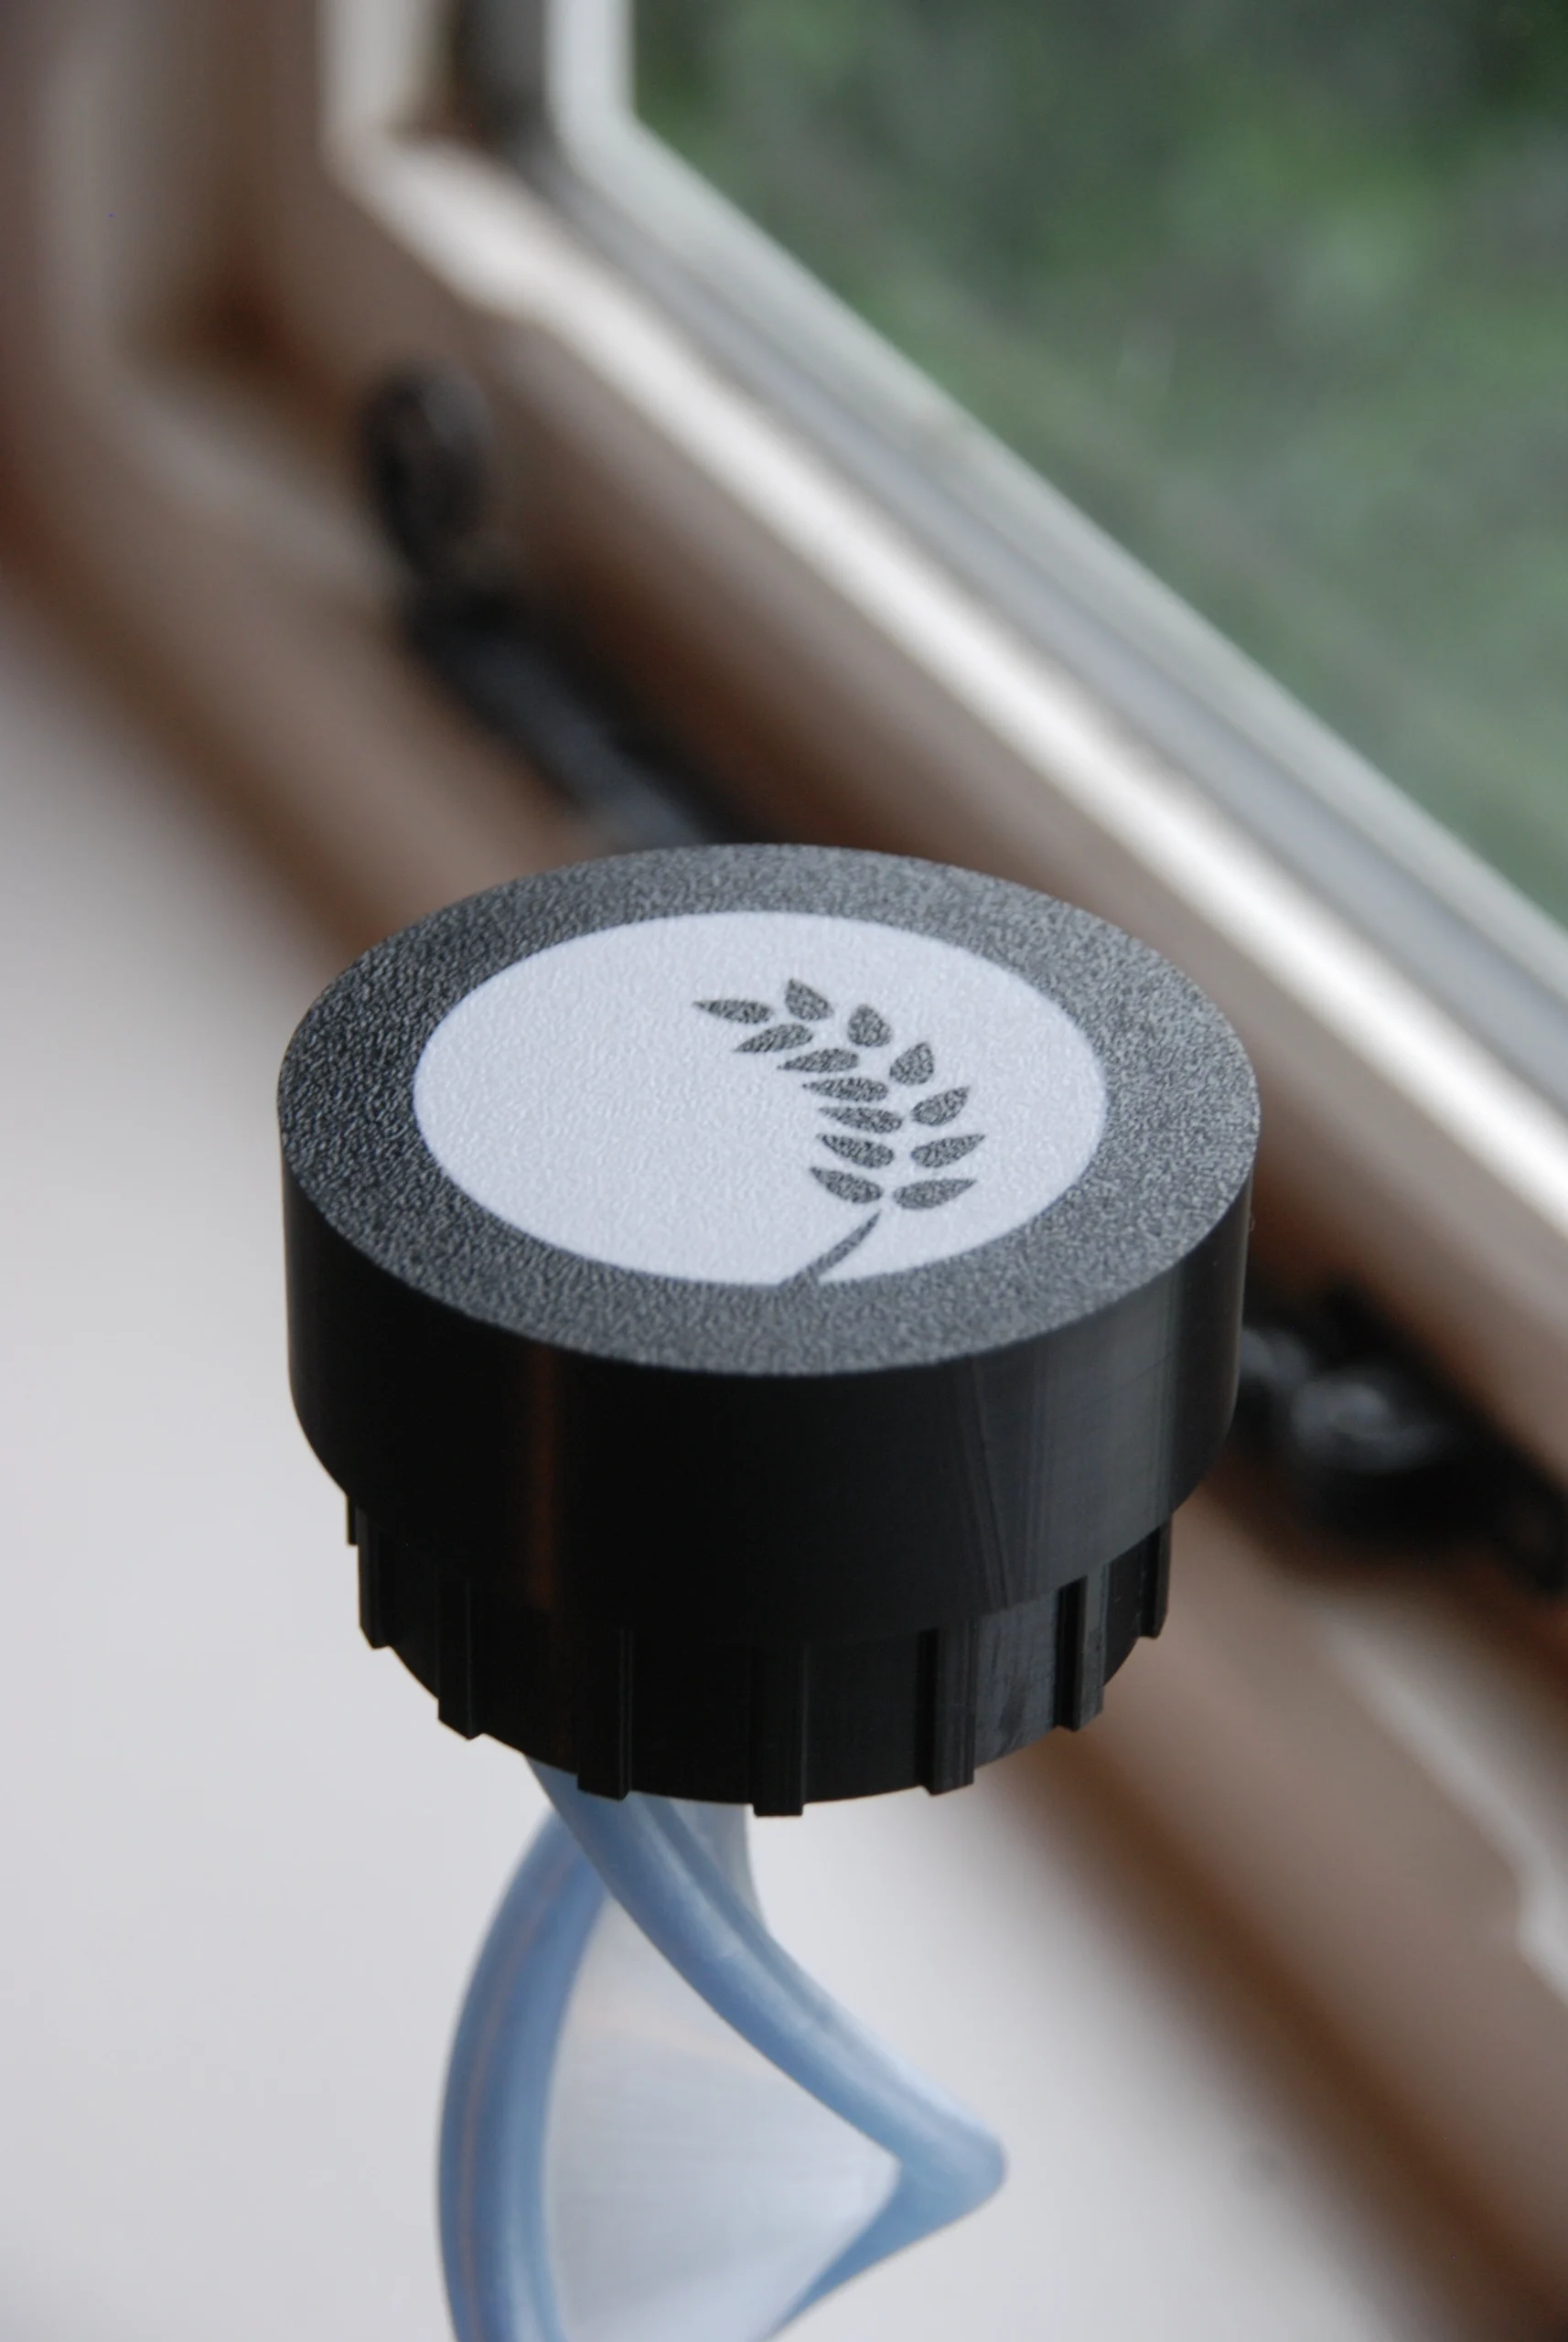
Branding is not an original feature of the equipment I attempted to recreate. However, this is intended to be used for an assortment of stakeholders that all in some way or another will be paying attention to this sample. For this reason, I included the company’s logo and branding on the bases of the product. It is simple but effective and adds an element of professionalism to the product.
I have also been informed that the product will most likely be handed around the stakeholders so they can get an up-close representation of how the process looks. Yet another reason why branding is important.
Because the helix had to be thin to accurately resemble the process, it also meant that it was susceptible to breaking during transport abroad. My final challenge was to come up with a packaging solution that would protect the product during transport but remain lightweight and keep the products footprint small so it is space efficient in the customers luggage.
For this, I chose to use a carboard tube with some thick paper lining. My main reasons for choosing this were that it is sustainable as not only are they recyclable, they are repurposed which fits inline well with the companies morals. Compared to a regular carboard box, it is much more compact as it is circular meaning there is no wasted space within the packaging. This is cost effective, lightweight, durable and reusable. Therefore, this can be reused trip after trip.
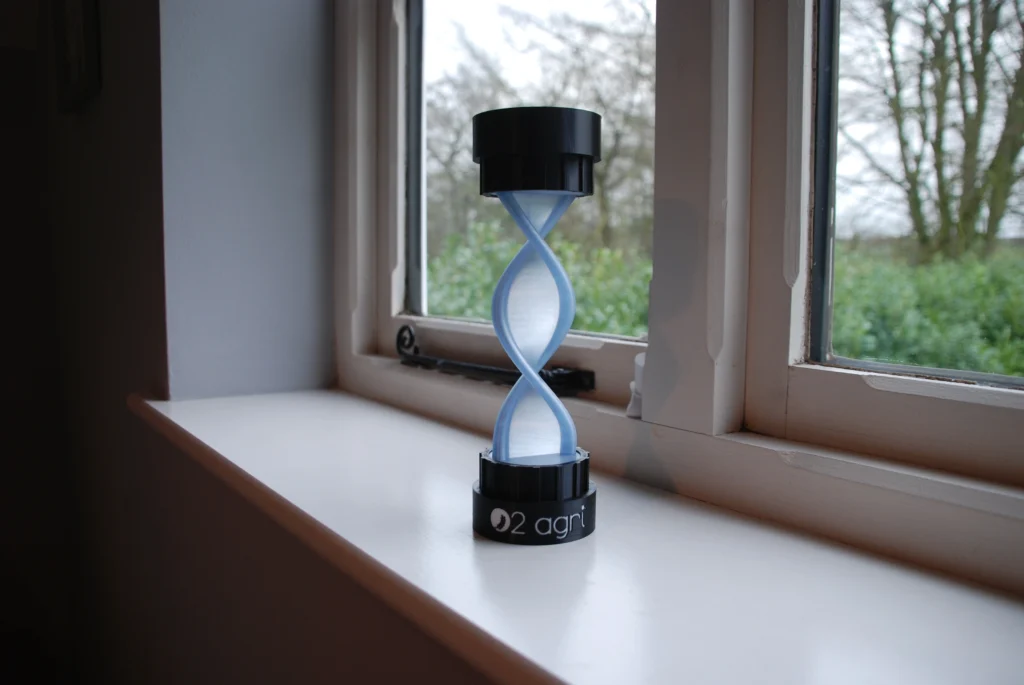
The fact that the client returned within days, not only ordering two additional units but commissioning a smaller keychain-sized version as a giveaway for stakeholders, was the most meaningful validation this project could have received. It confirmed that the model had achieved exactly what it set out to do: represent O2 Agri’s technology in a way that resonated with the people in that room.
Caroline’s response upon receiving the models summed it up well:
What Ollie created is amazing! He took our idea, and not only did he bring it to life, but he gave us more than we could have imagined. We gave him just one image to show him what the helix looks like, and he created a really accurate and true replica, paying attention to details and even getting the scale spot on.
Caroline Wellon
The keychain commission in particular was an interesting challenge, scaling the helix down further while keeping it recognisable and robust enough to be handled repeatedly as a giveaway item. Along with a few extra features that blend well with a giveaway item. See below for more information.
If I were to revisit this project, I would look to trial SLA printing for the helix component given more time and budget, as the higher resolution would better capture the fine detail of the geometry. That said, the constraints of this project, two weeks, a fixed budget, and a suitcase-sized footprint, were part of what made the outcome rewarding.