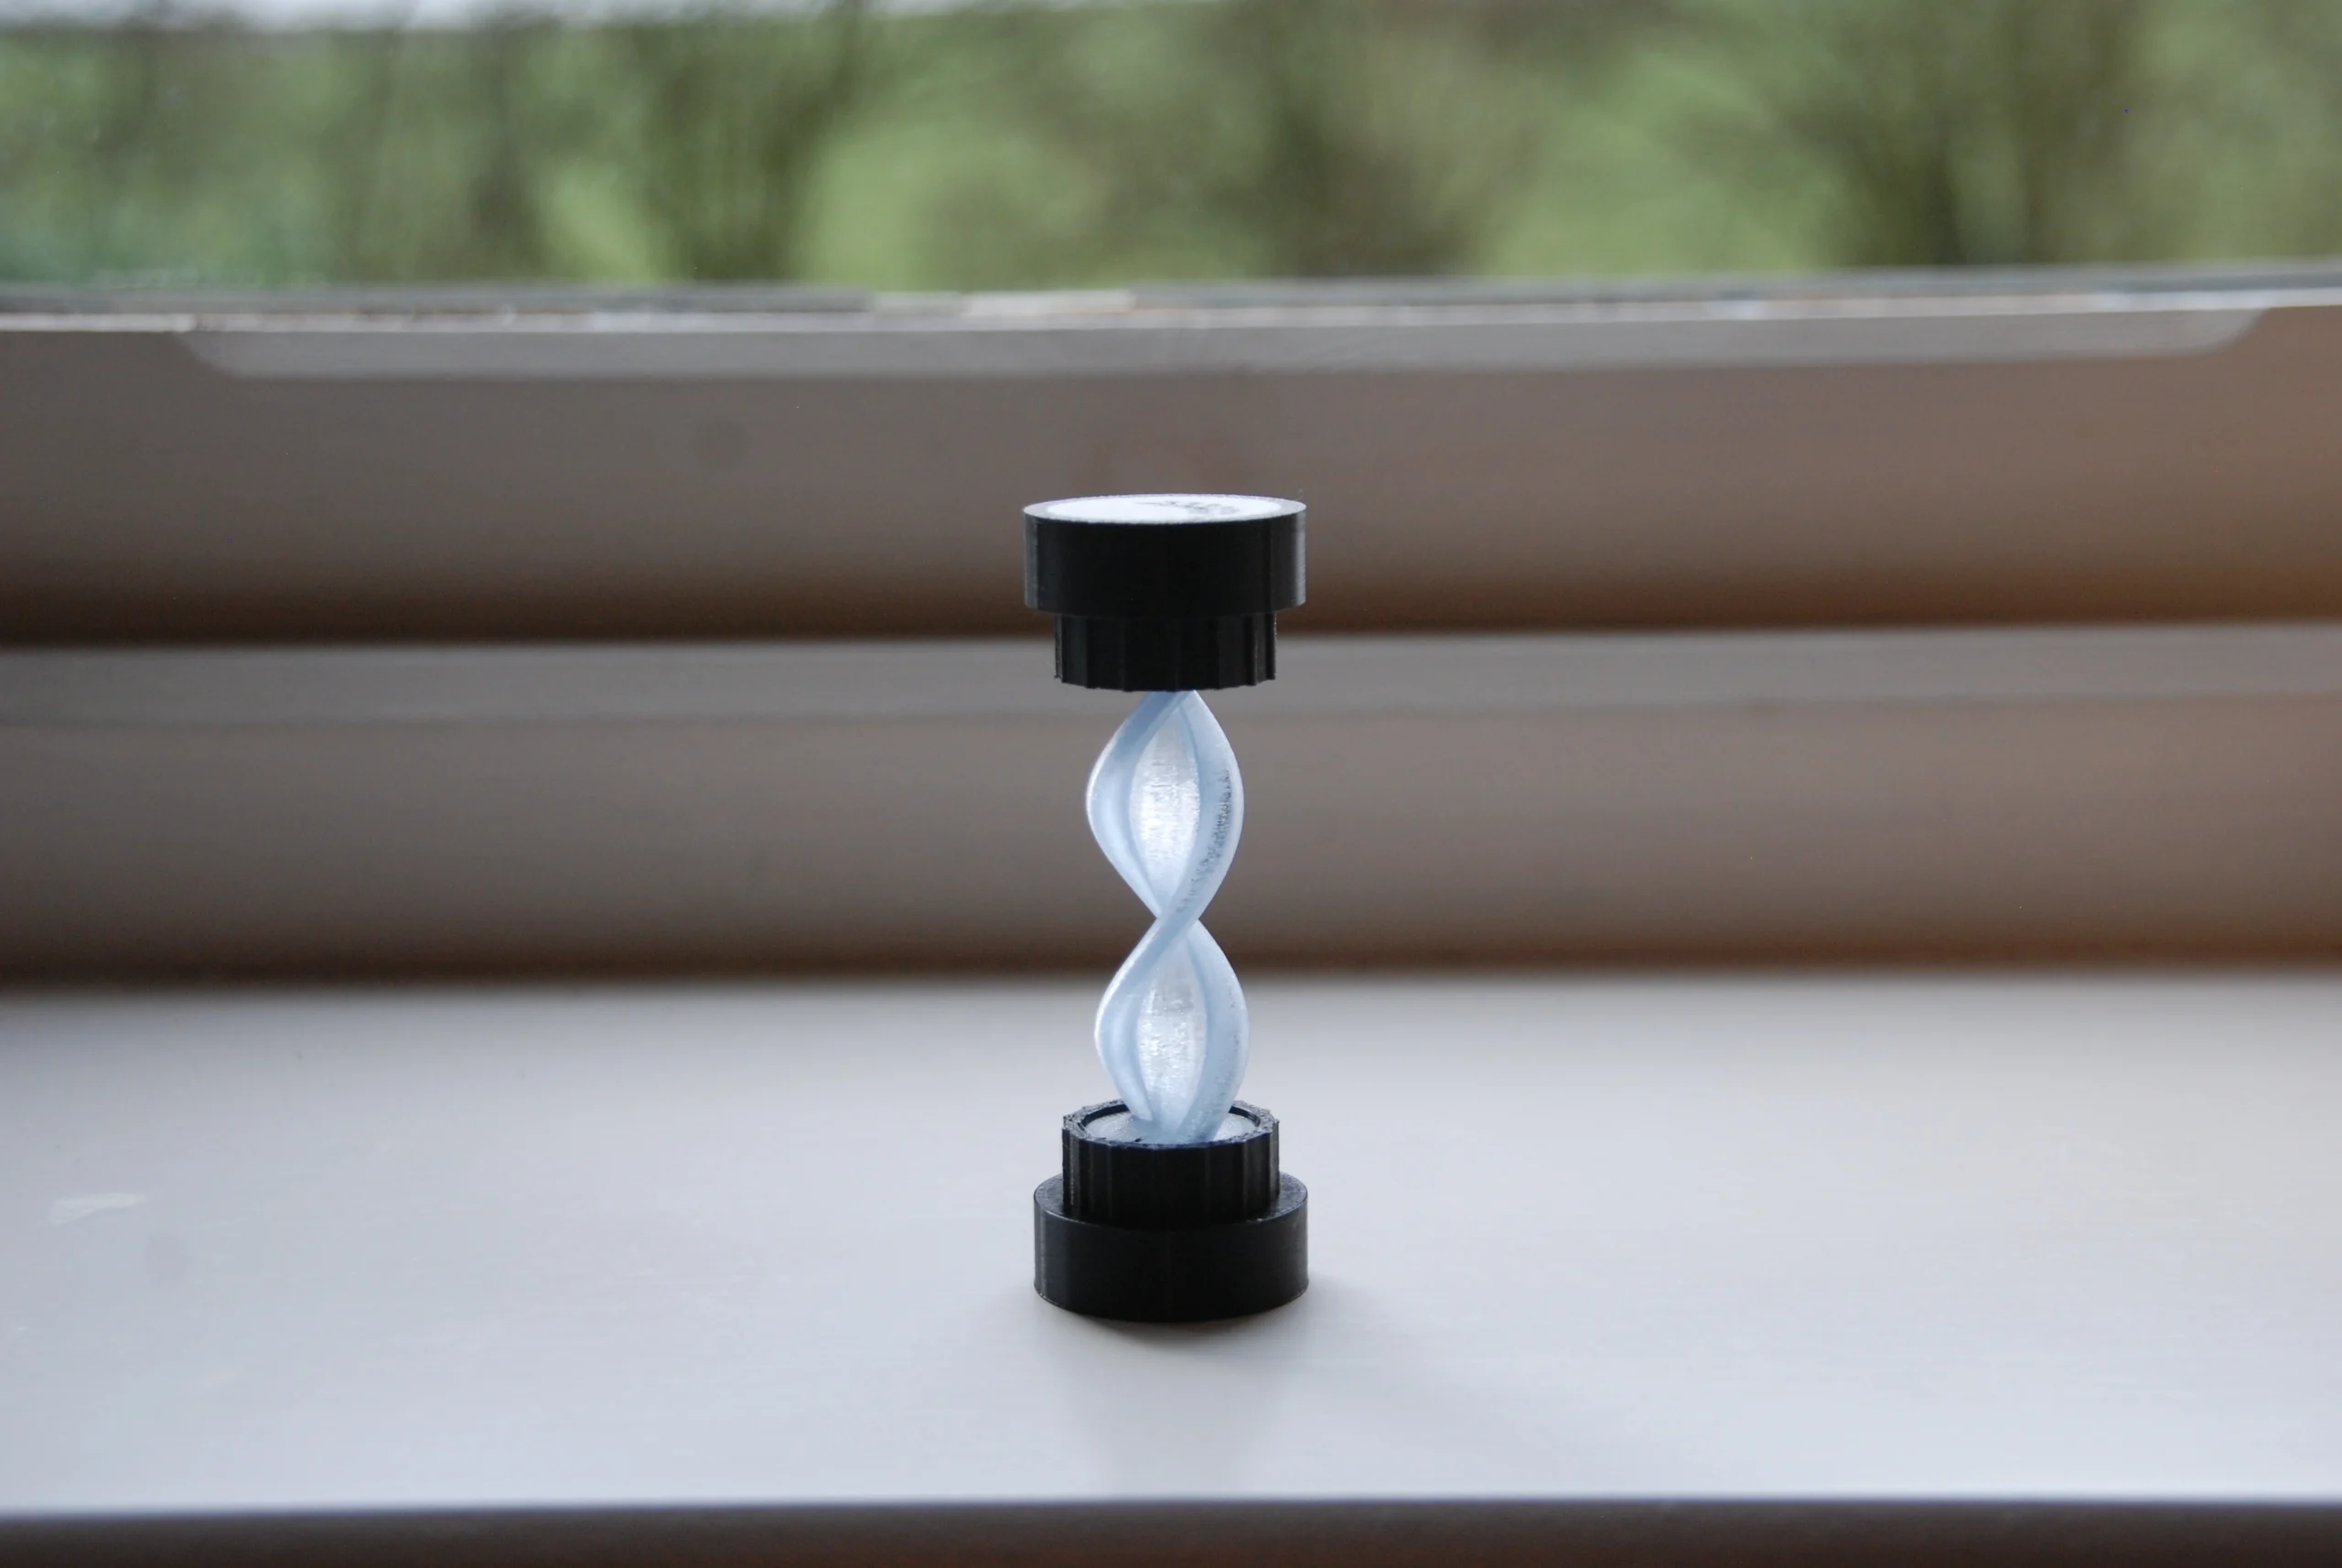
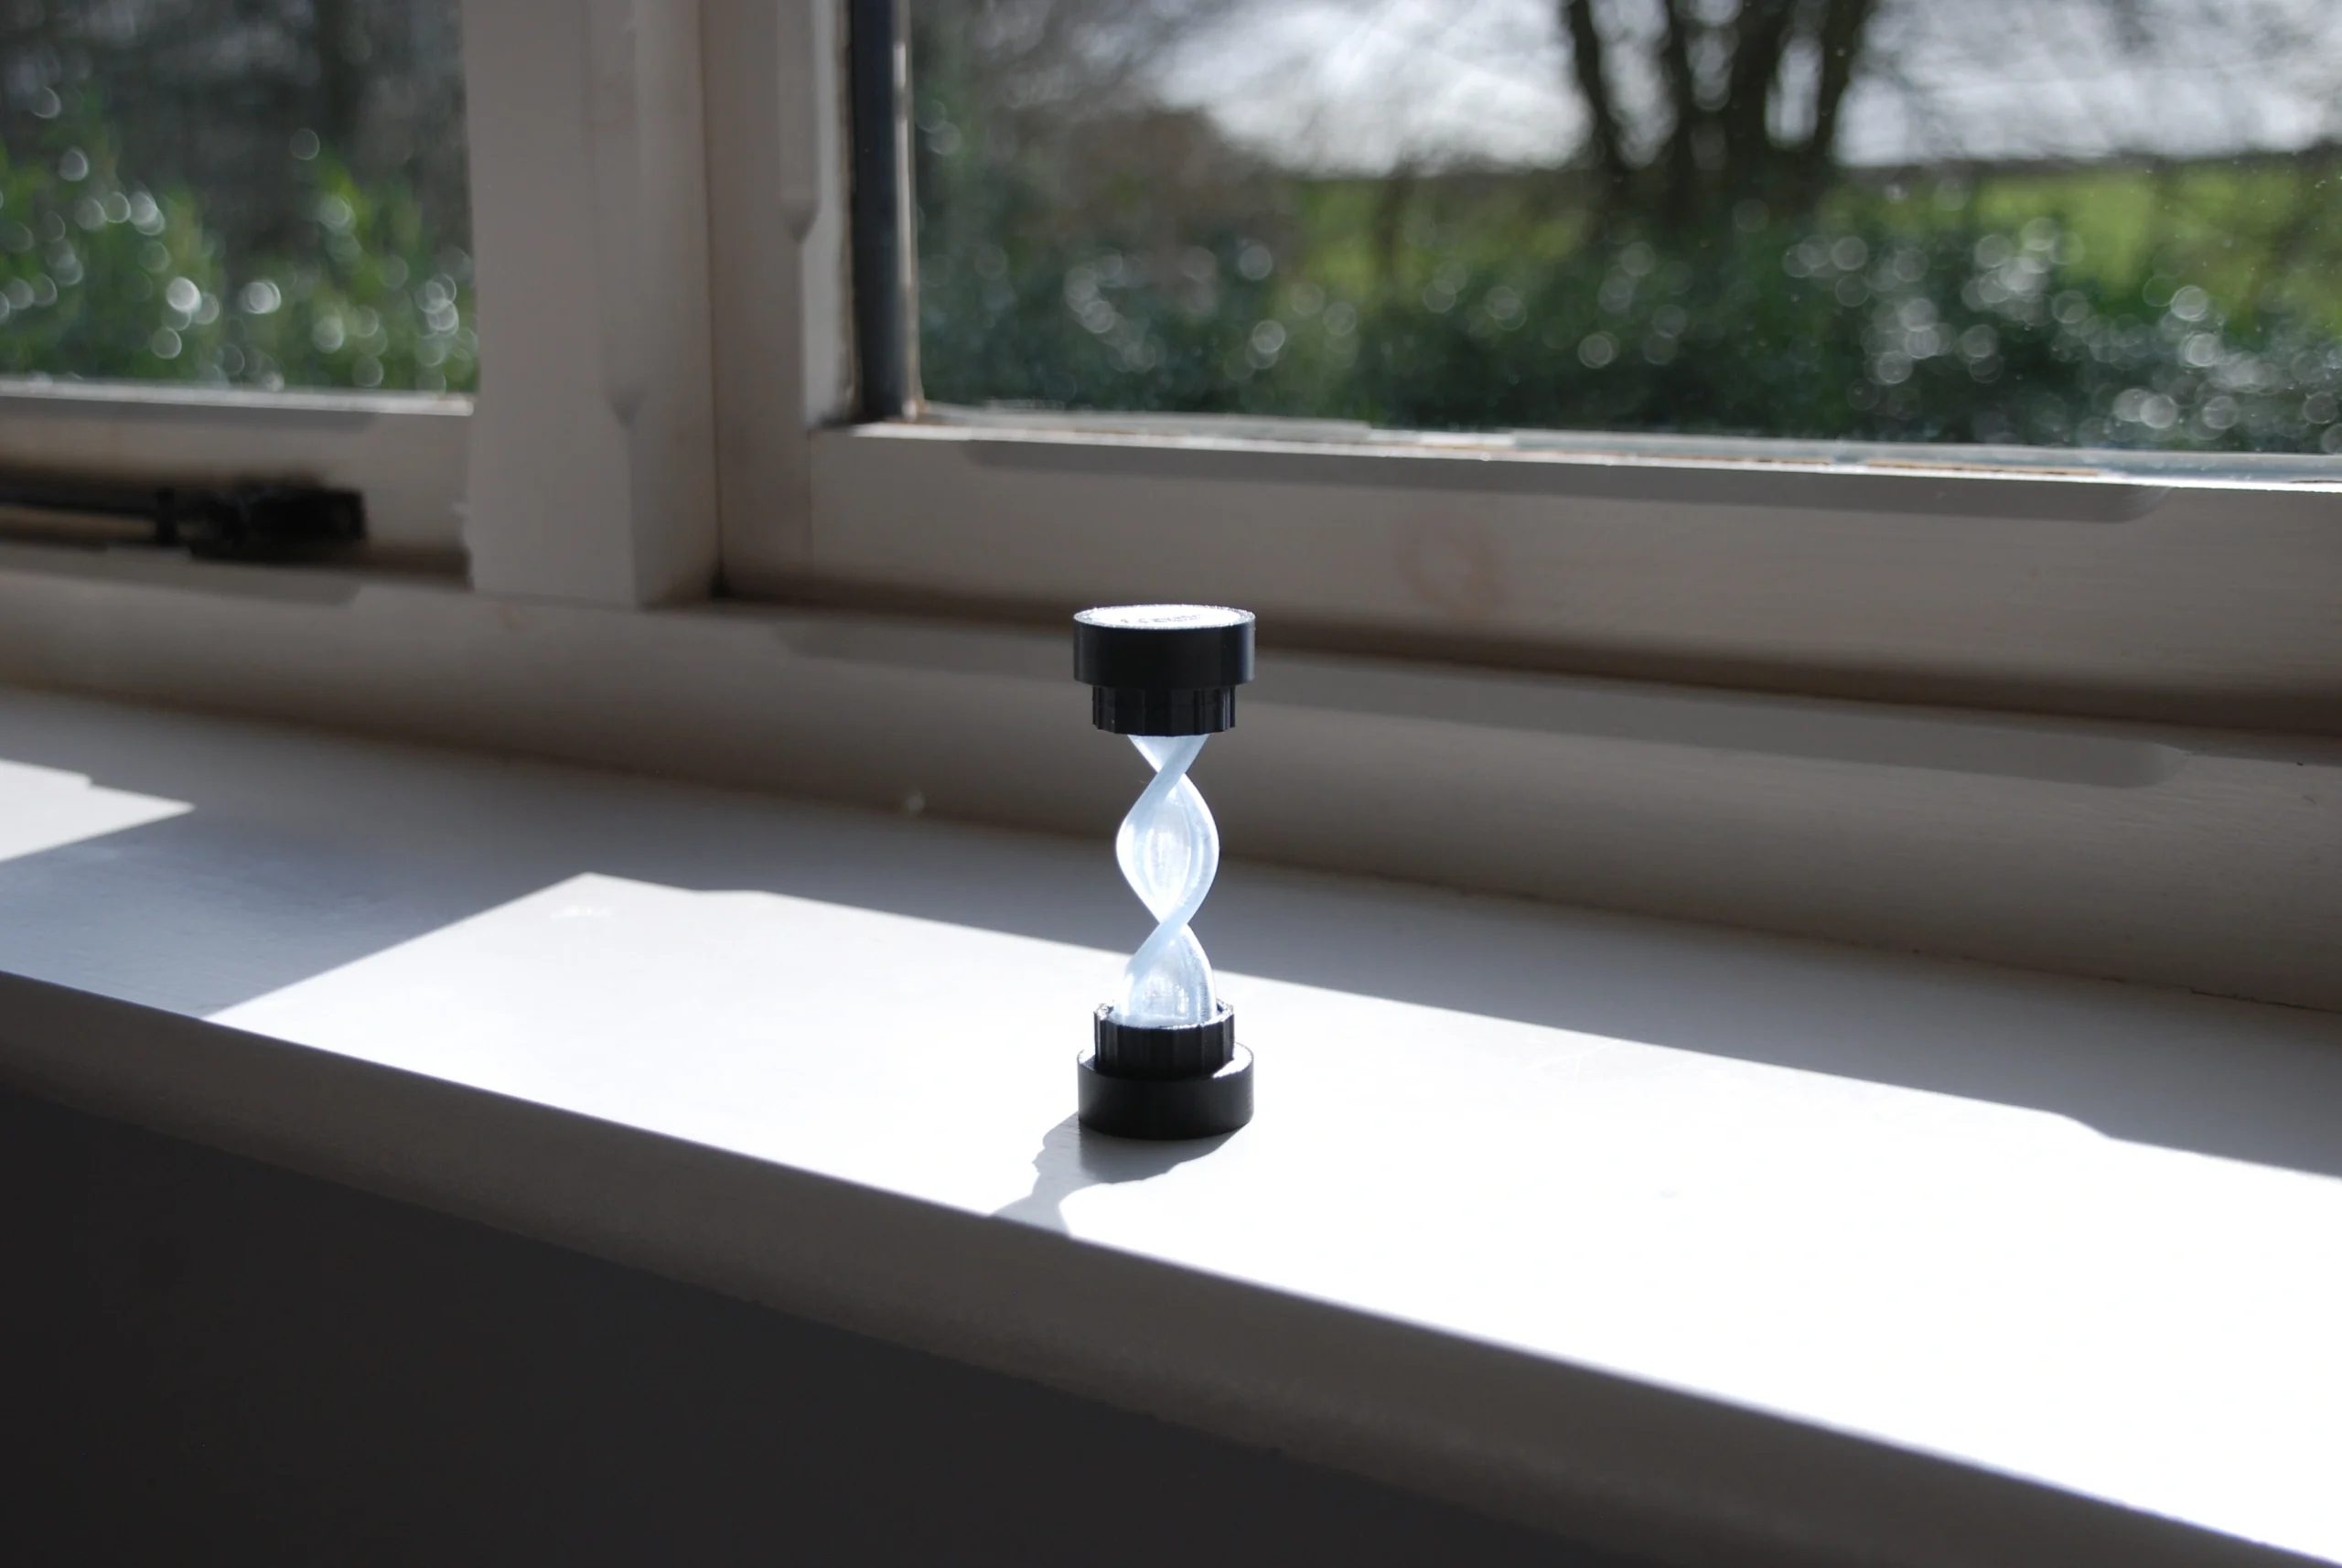
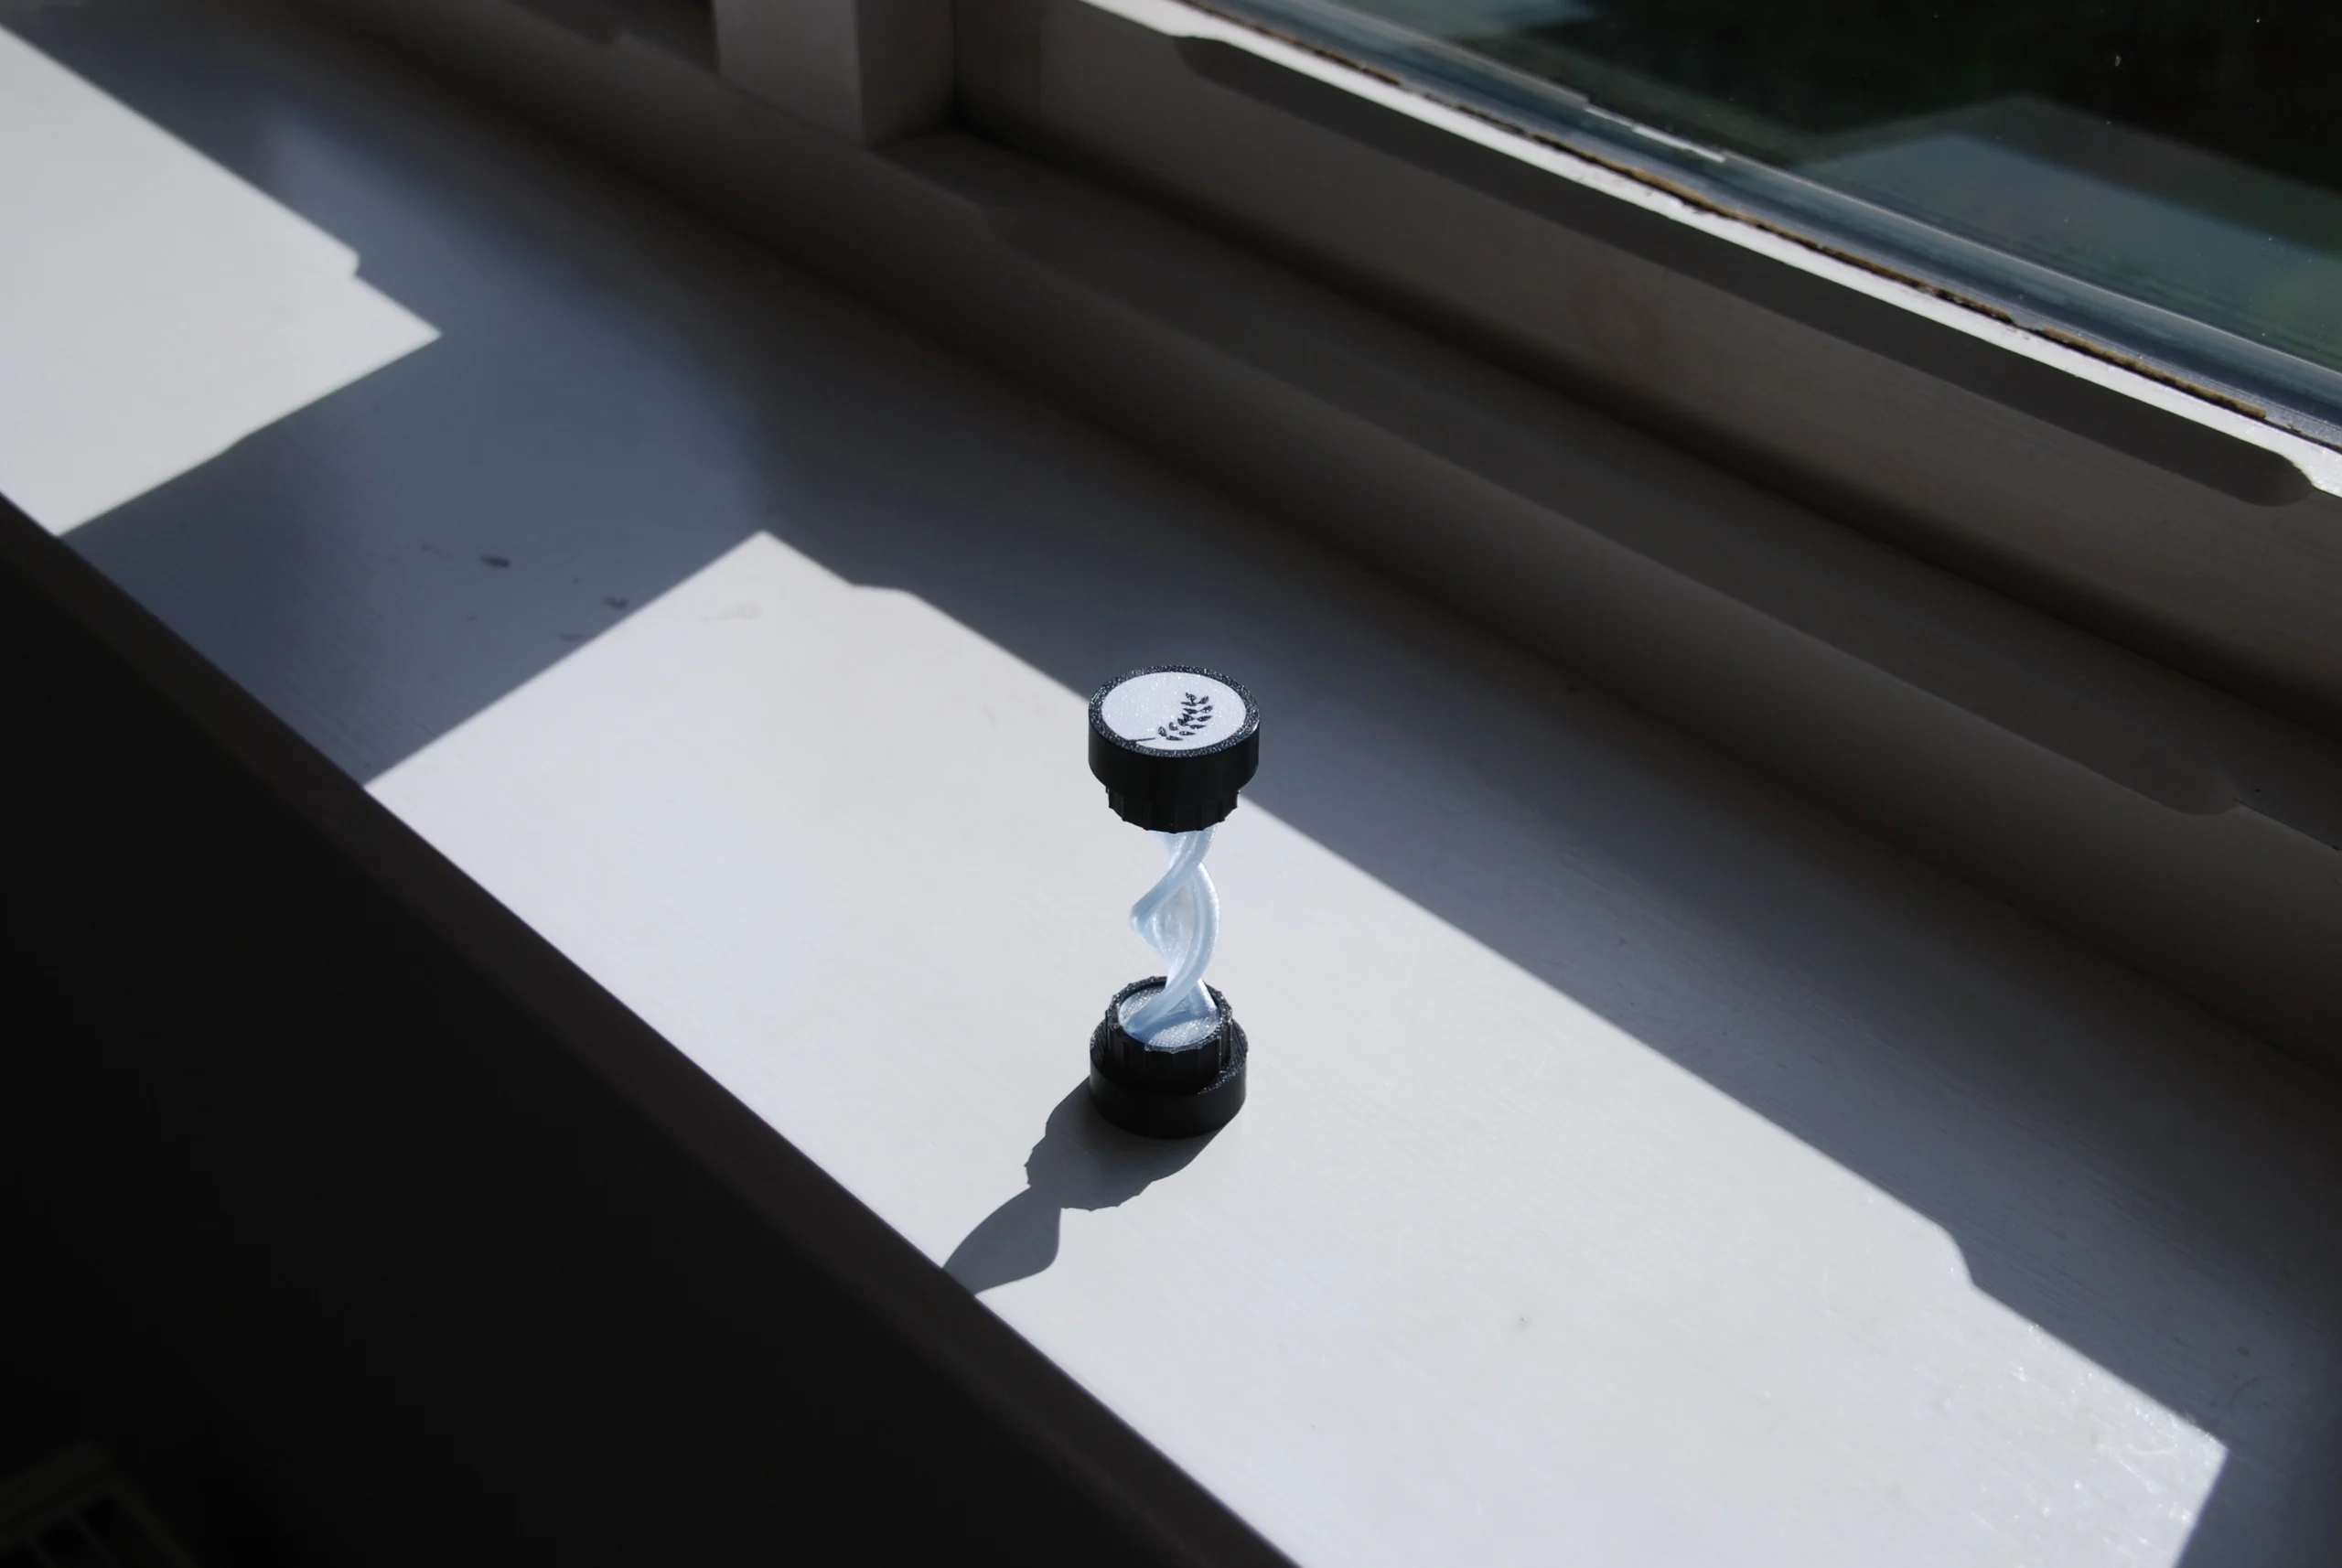
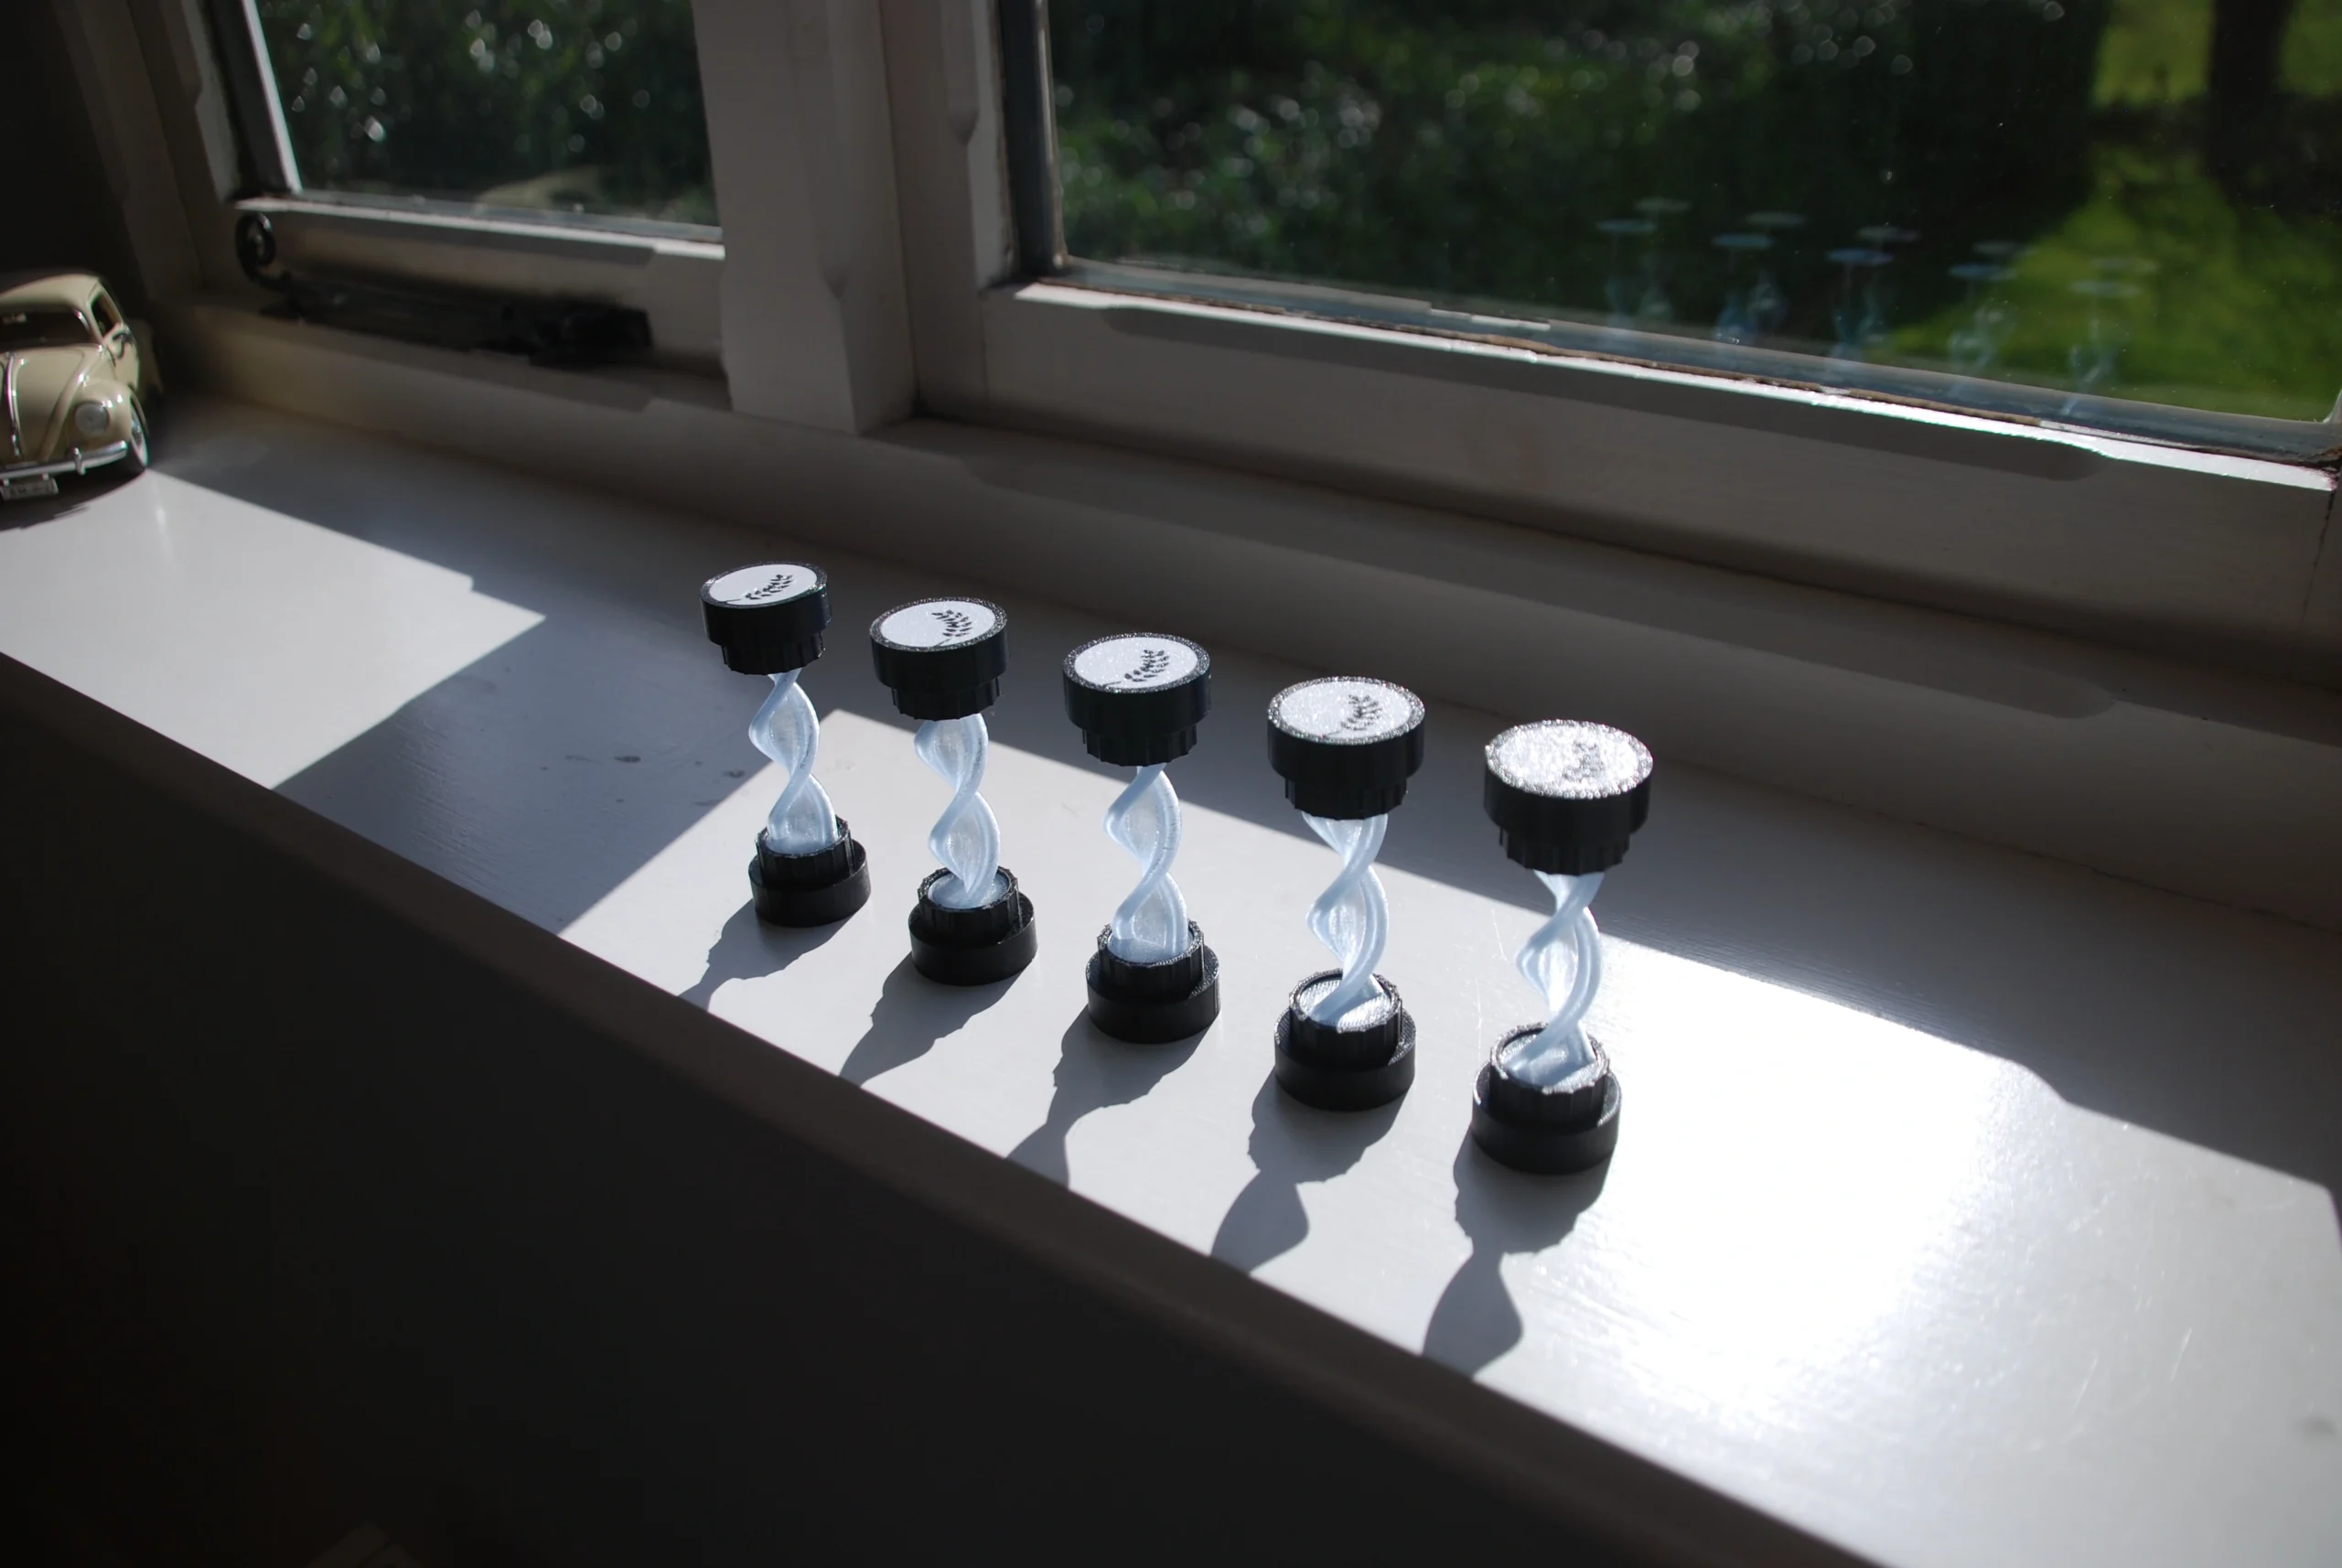
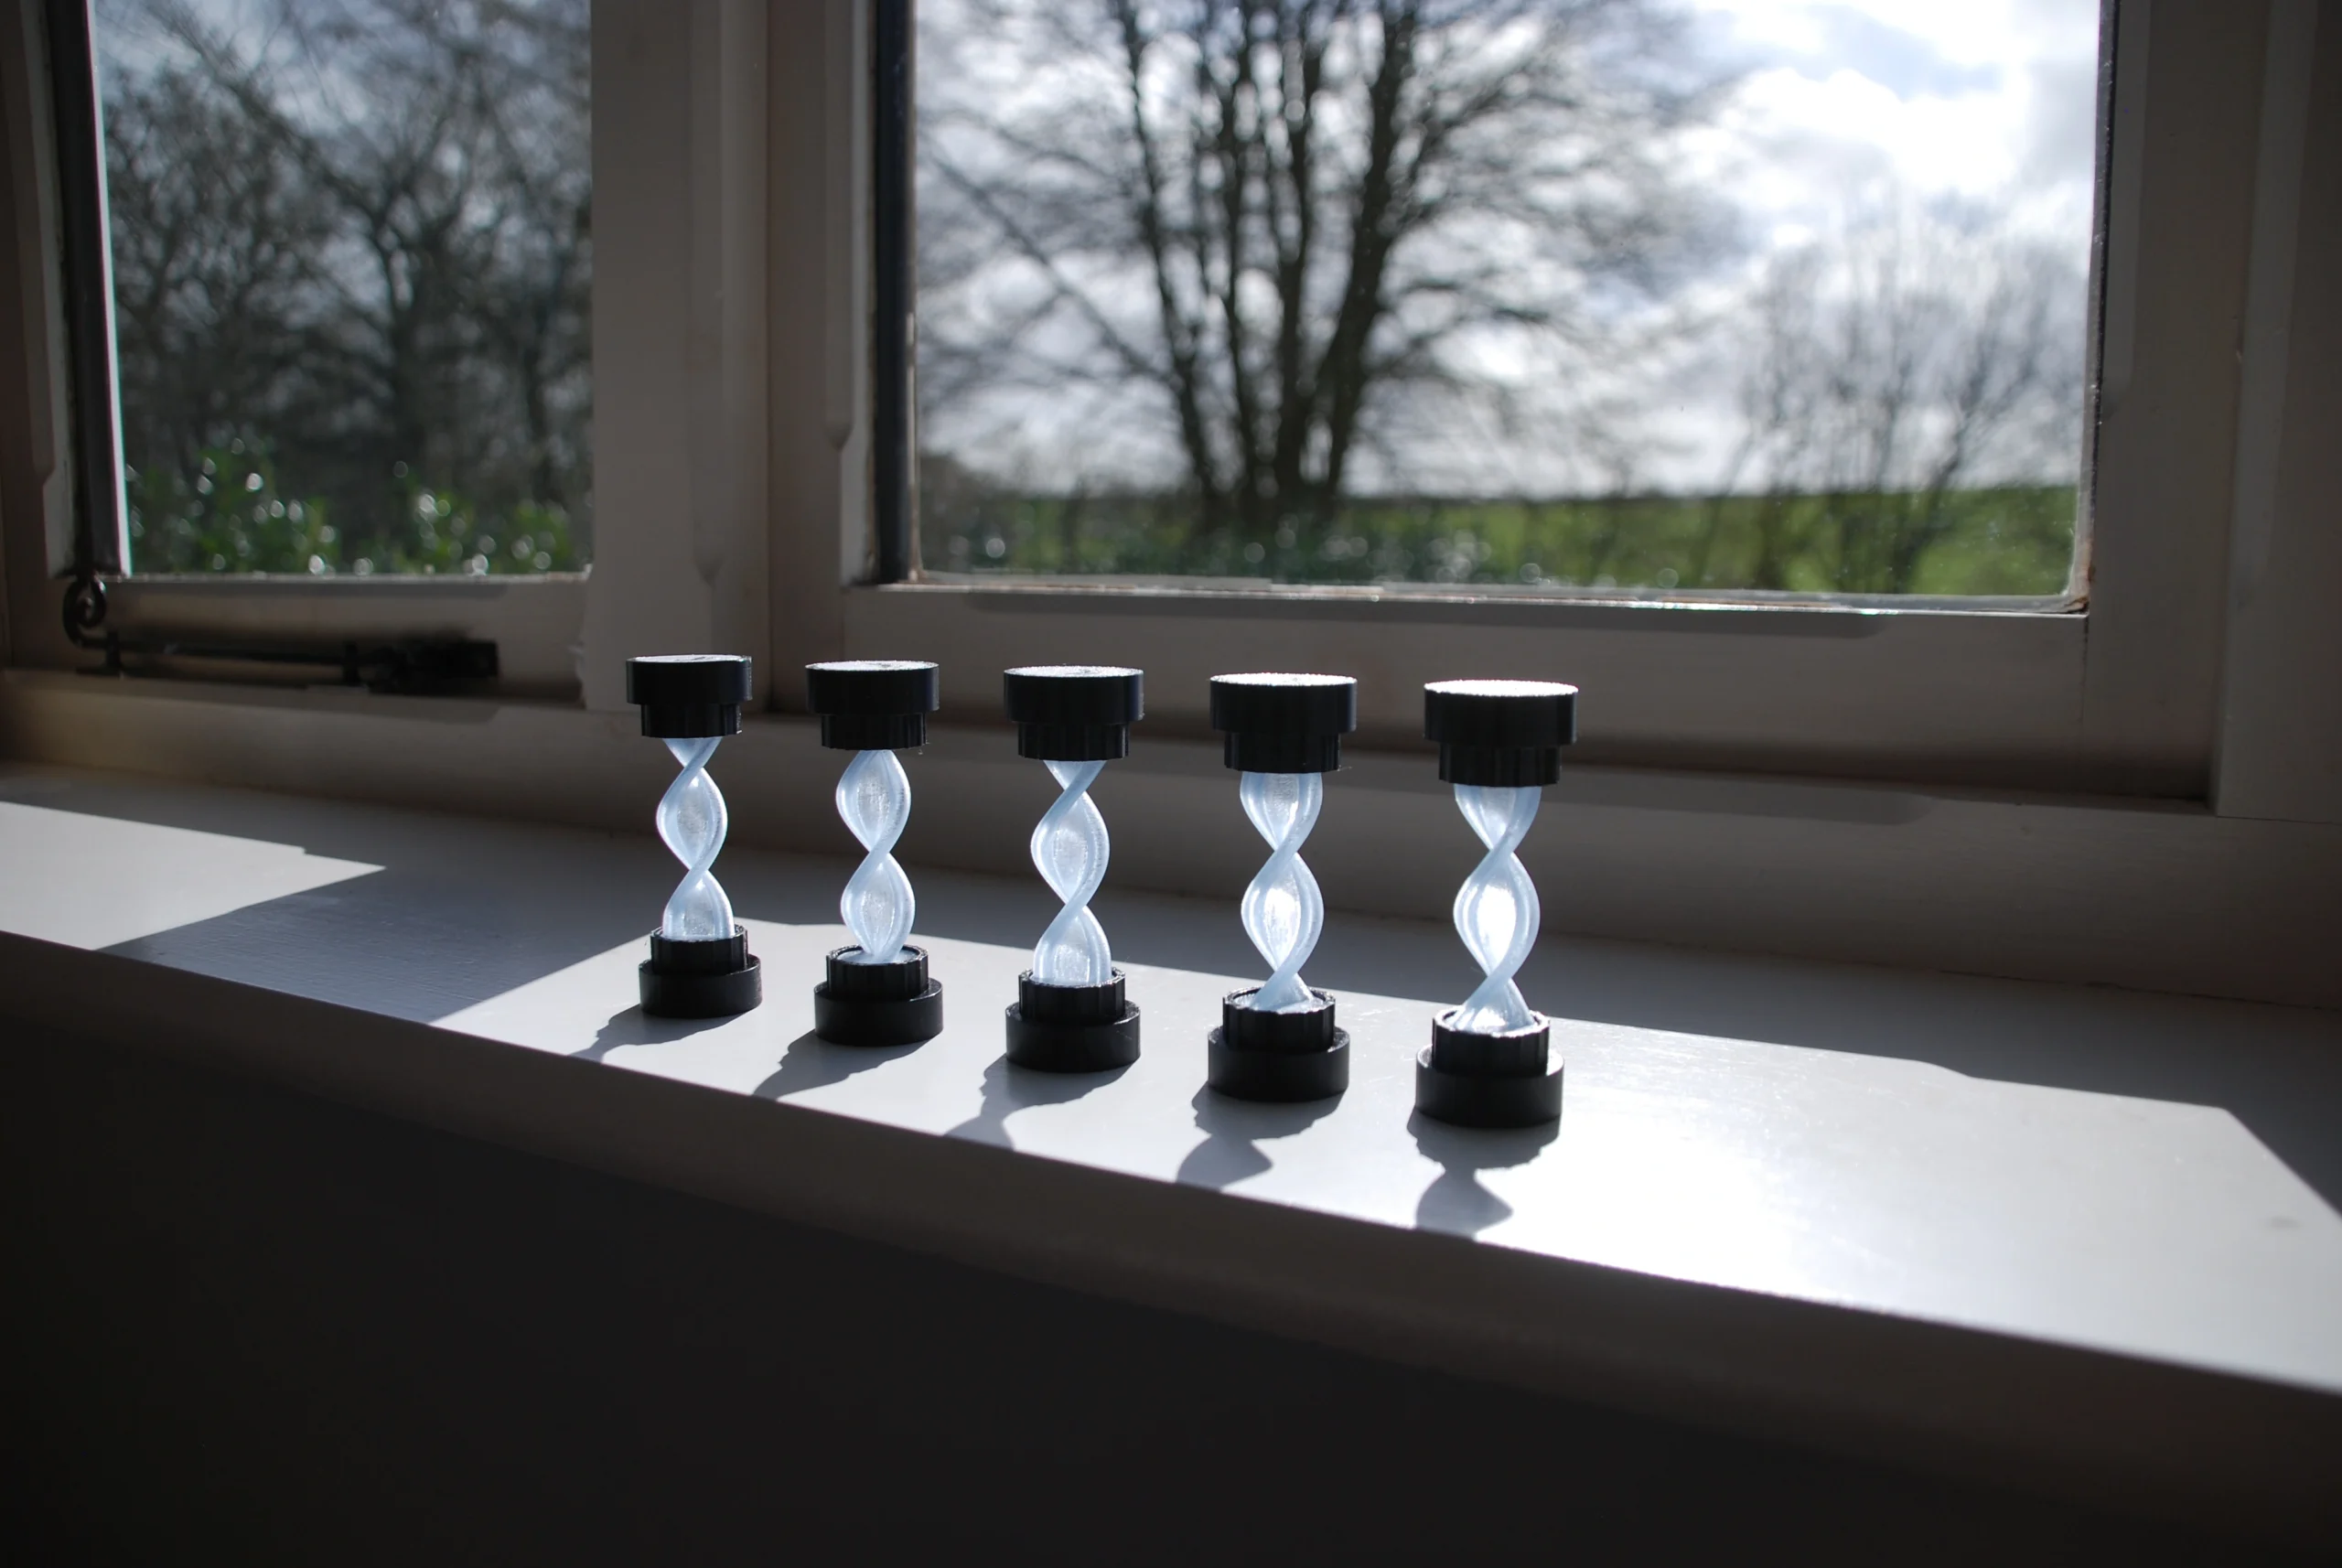
Following the success of the O2 Agri process model commission, the client returned within days, not only ordering two additional full-scale units, but commissioning an entirely new project: a keychain-sized version of the same model to be produced as a giveaway for stakeholders.
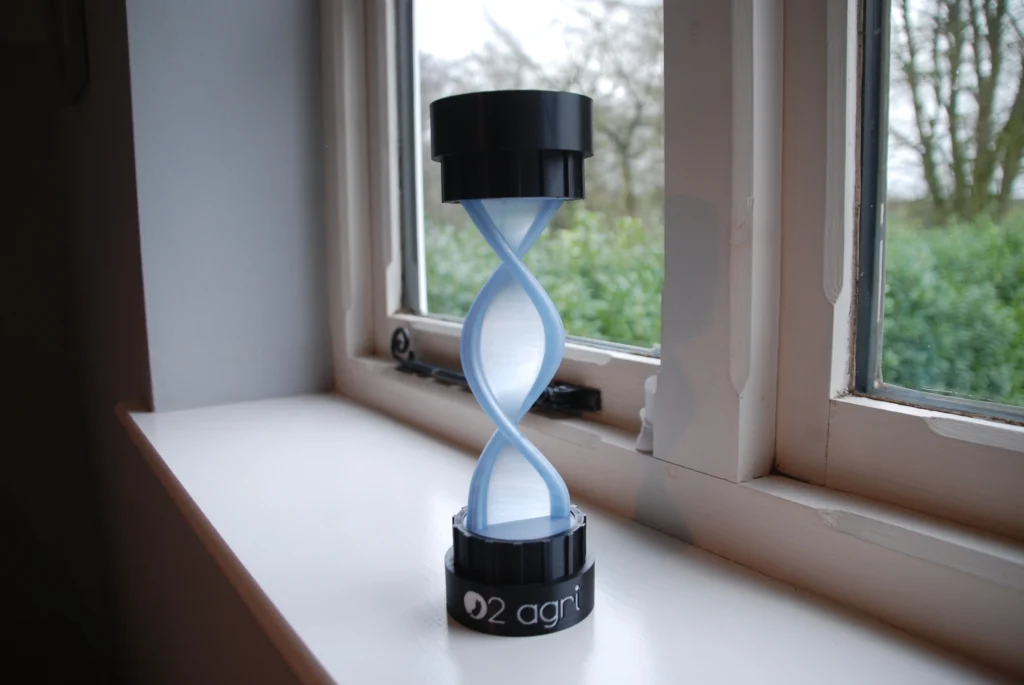
The original process models were designed as portable demonstration tools, accurate enough to convey O2 Agri’s patent-pending nanotech system to investors, customers, and industry professionals across the world. That commission came with tight constraints, a two-week deadline, a fixed budget, and a suitcase-sized footprint, and the result clearly resonated. The fact that the follow-on commission arrived so quickly was the strongest possible signal that the model had done its job.
This new project takes the same core design challenge and compresses it further. Where the original model needed to be travel-ready and presentation-quality, this version needs to be pocket-sized, durable enough to be handled repeatedly, and immediately recognisable as the O2 Agri process. It’s being produced as a branded giveaway, meaning it will be passed between hands at events, meetings, and overseas demonstrations, serving as both a conversation starter and a lasting physical reminder of the technology.
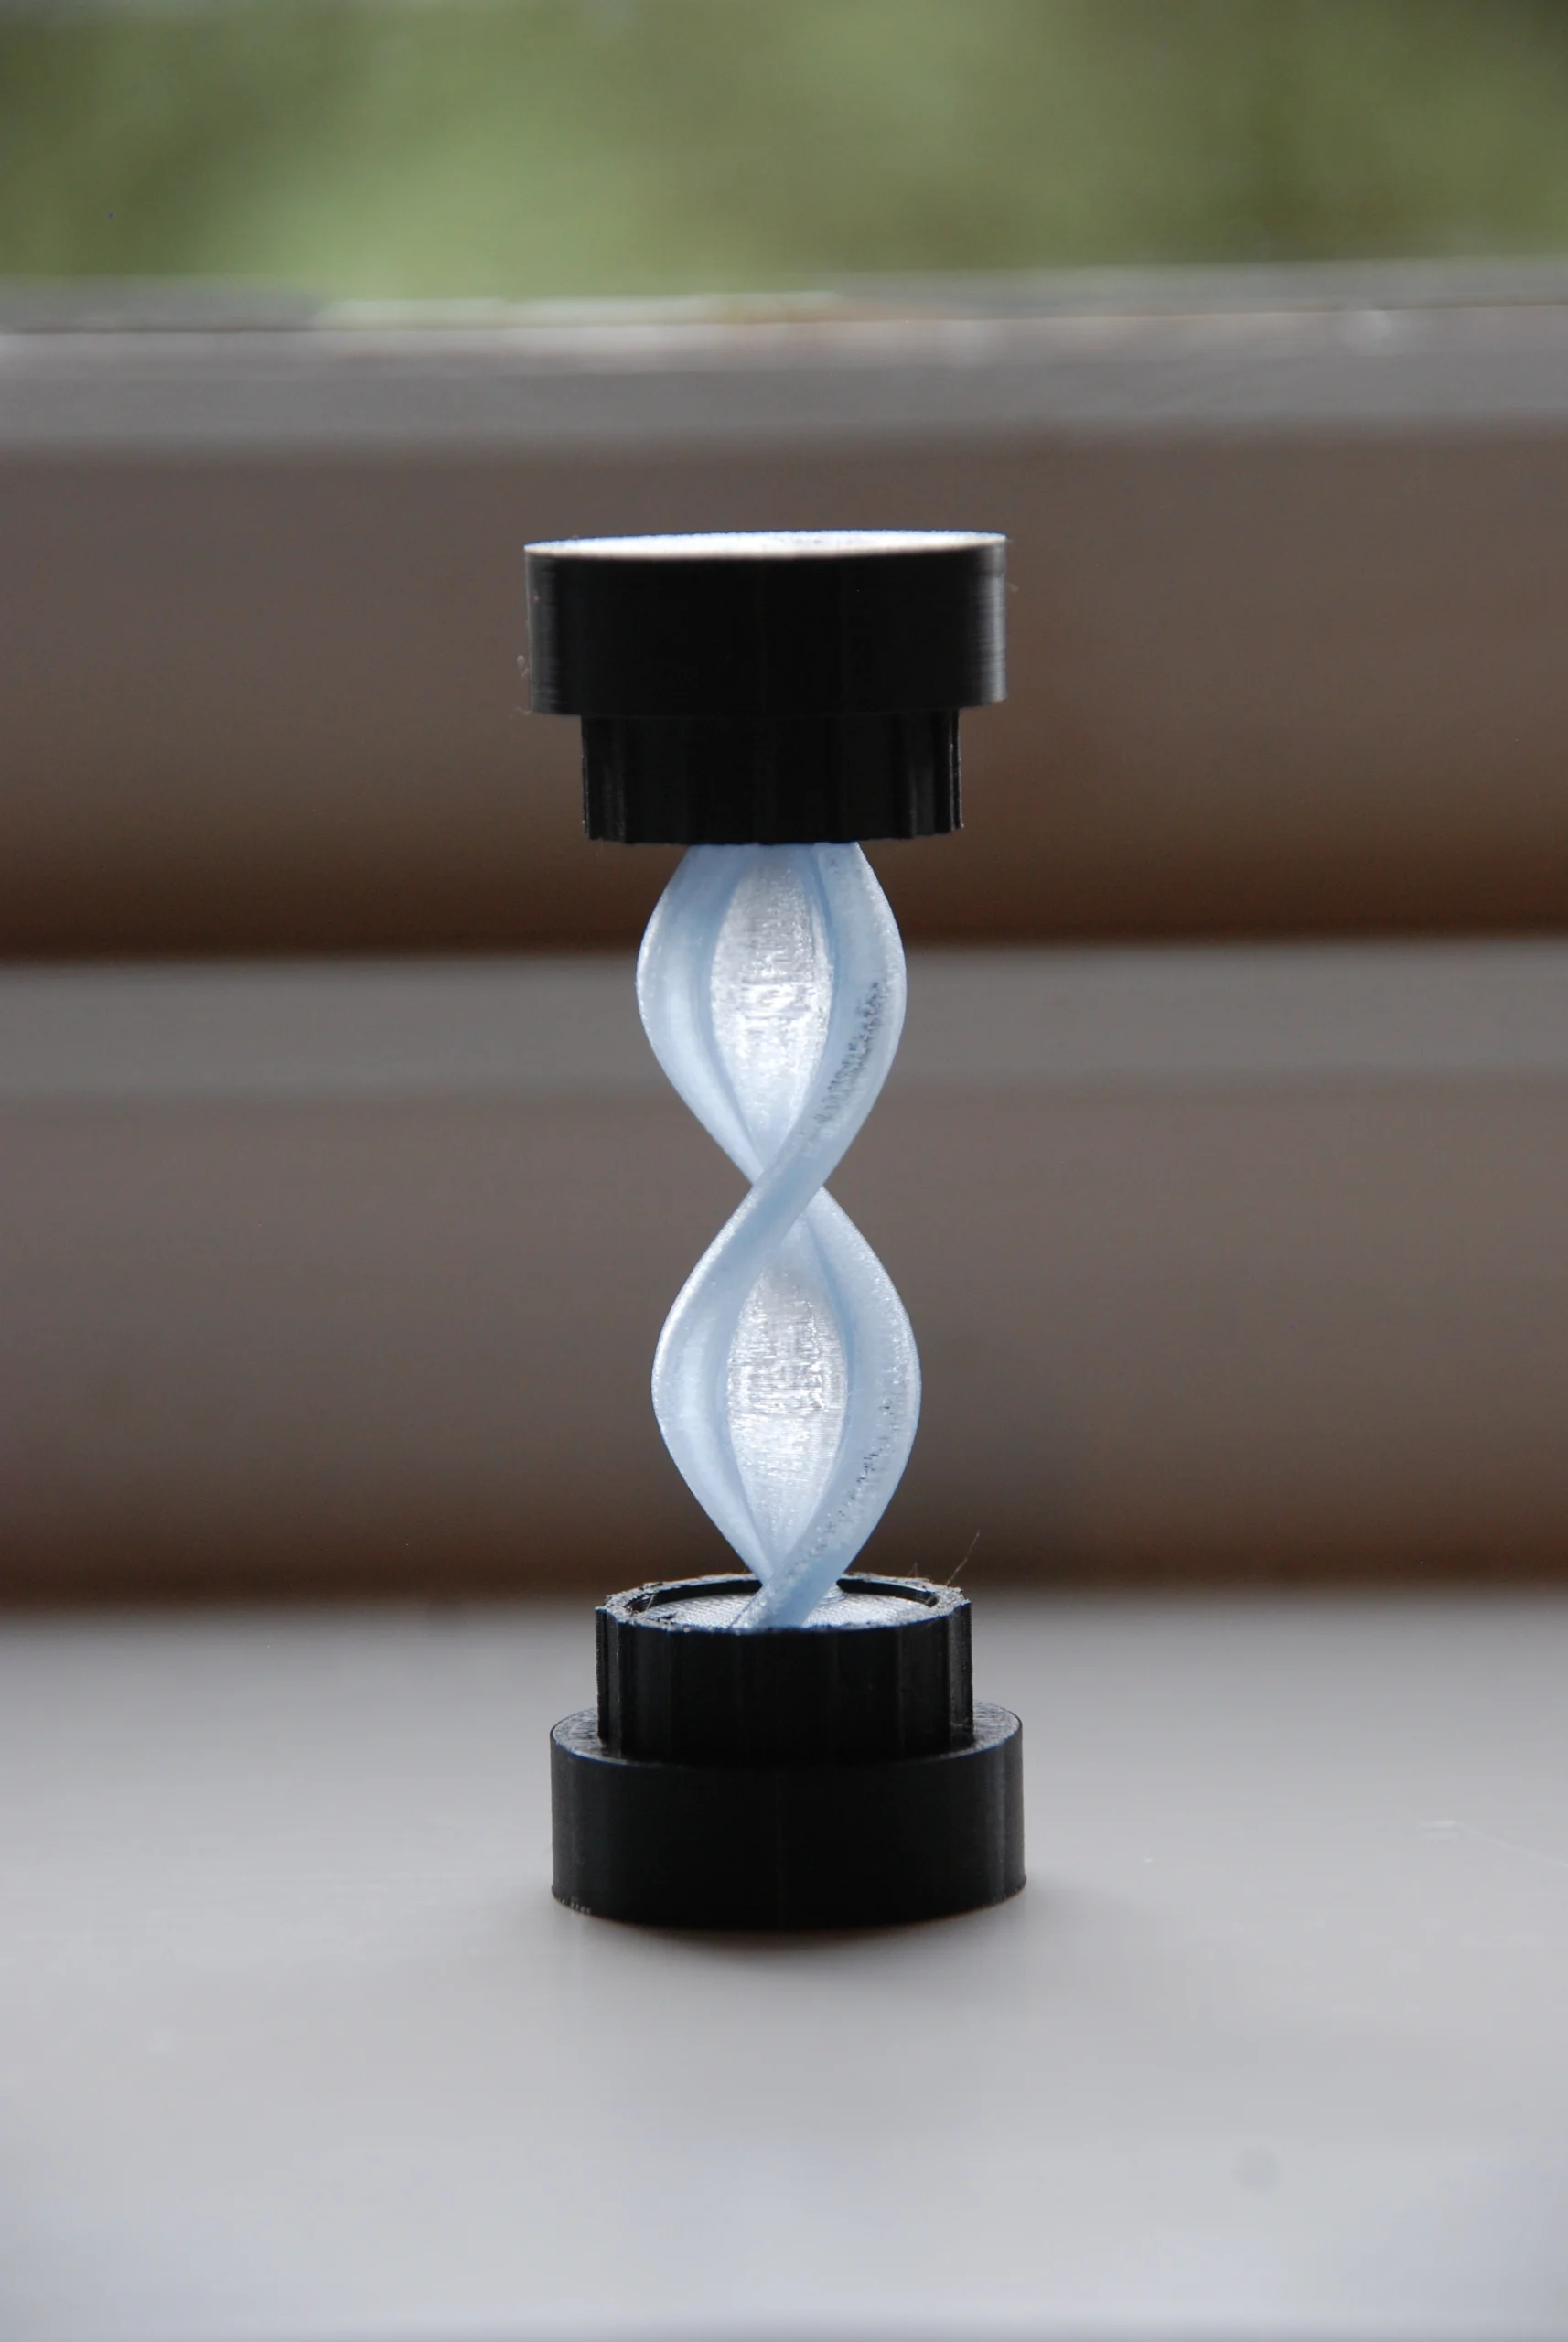
The central design challenge remains the helix: the component that represents the nano-sized oxygen particles infusing into water, and the most visually distinctive part of the system. Scaling it down while keeping it structurally sound and visually accurate, at a size similar to a keychain, introduces new considerations around wall thickness, material behaviour, and print resolution that didn’t exist at the original scale.
The giveaway also introduces a few features unique to its format, designed to make it practical and appealing as a take-home item rather than purely a demonstration piece. Including an integrated NFC tag that directs the stakeholder to their website.
This project is a direct continuation of an ongoing client relationship built on a first commission that delivered on its brief, and then some.
This project was different to to others. I already had a ‘blueprint’ from which I could develop this design. There were many extra considerations in this project that weren’t relevant in the previous one. This includes uniformity, I had to ensure the product looked exactly the same, not just colours but proportions as well. There was also a new feature I suggested to include which my client loved, NFC tags. When scanned by your phone, you will be directed to their website to learn more. I had to ensure that the tag would seamlessly integrate into the design.
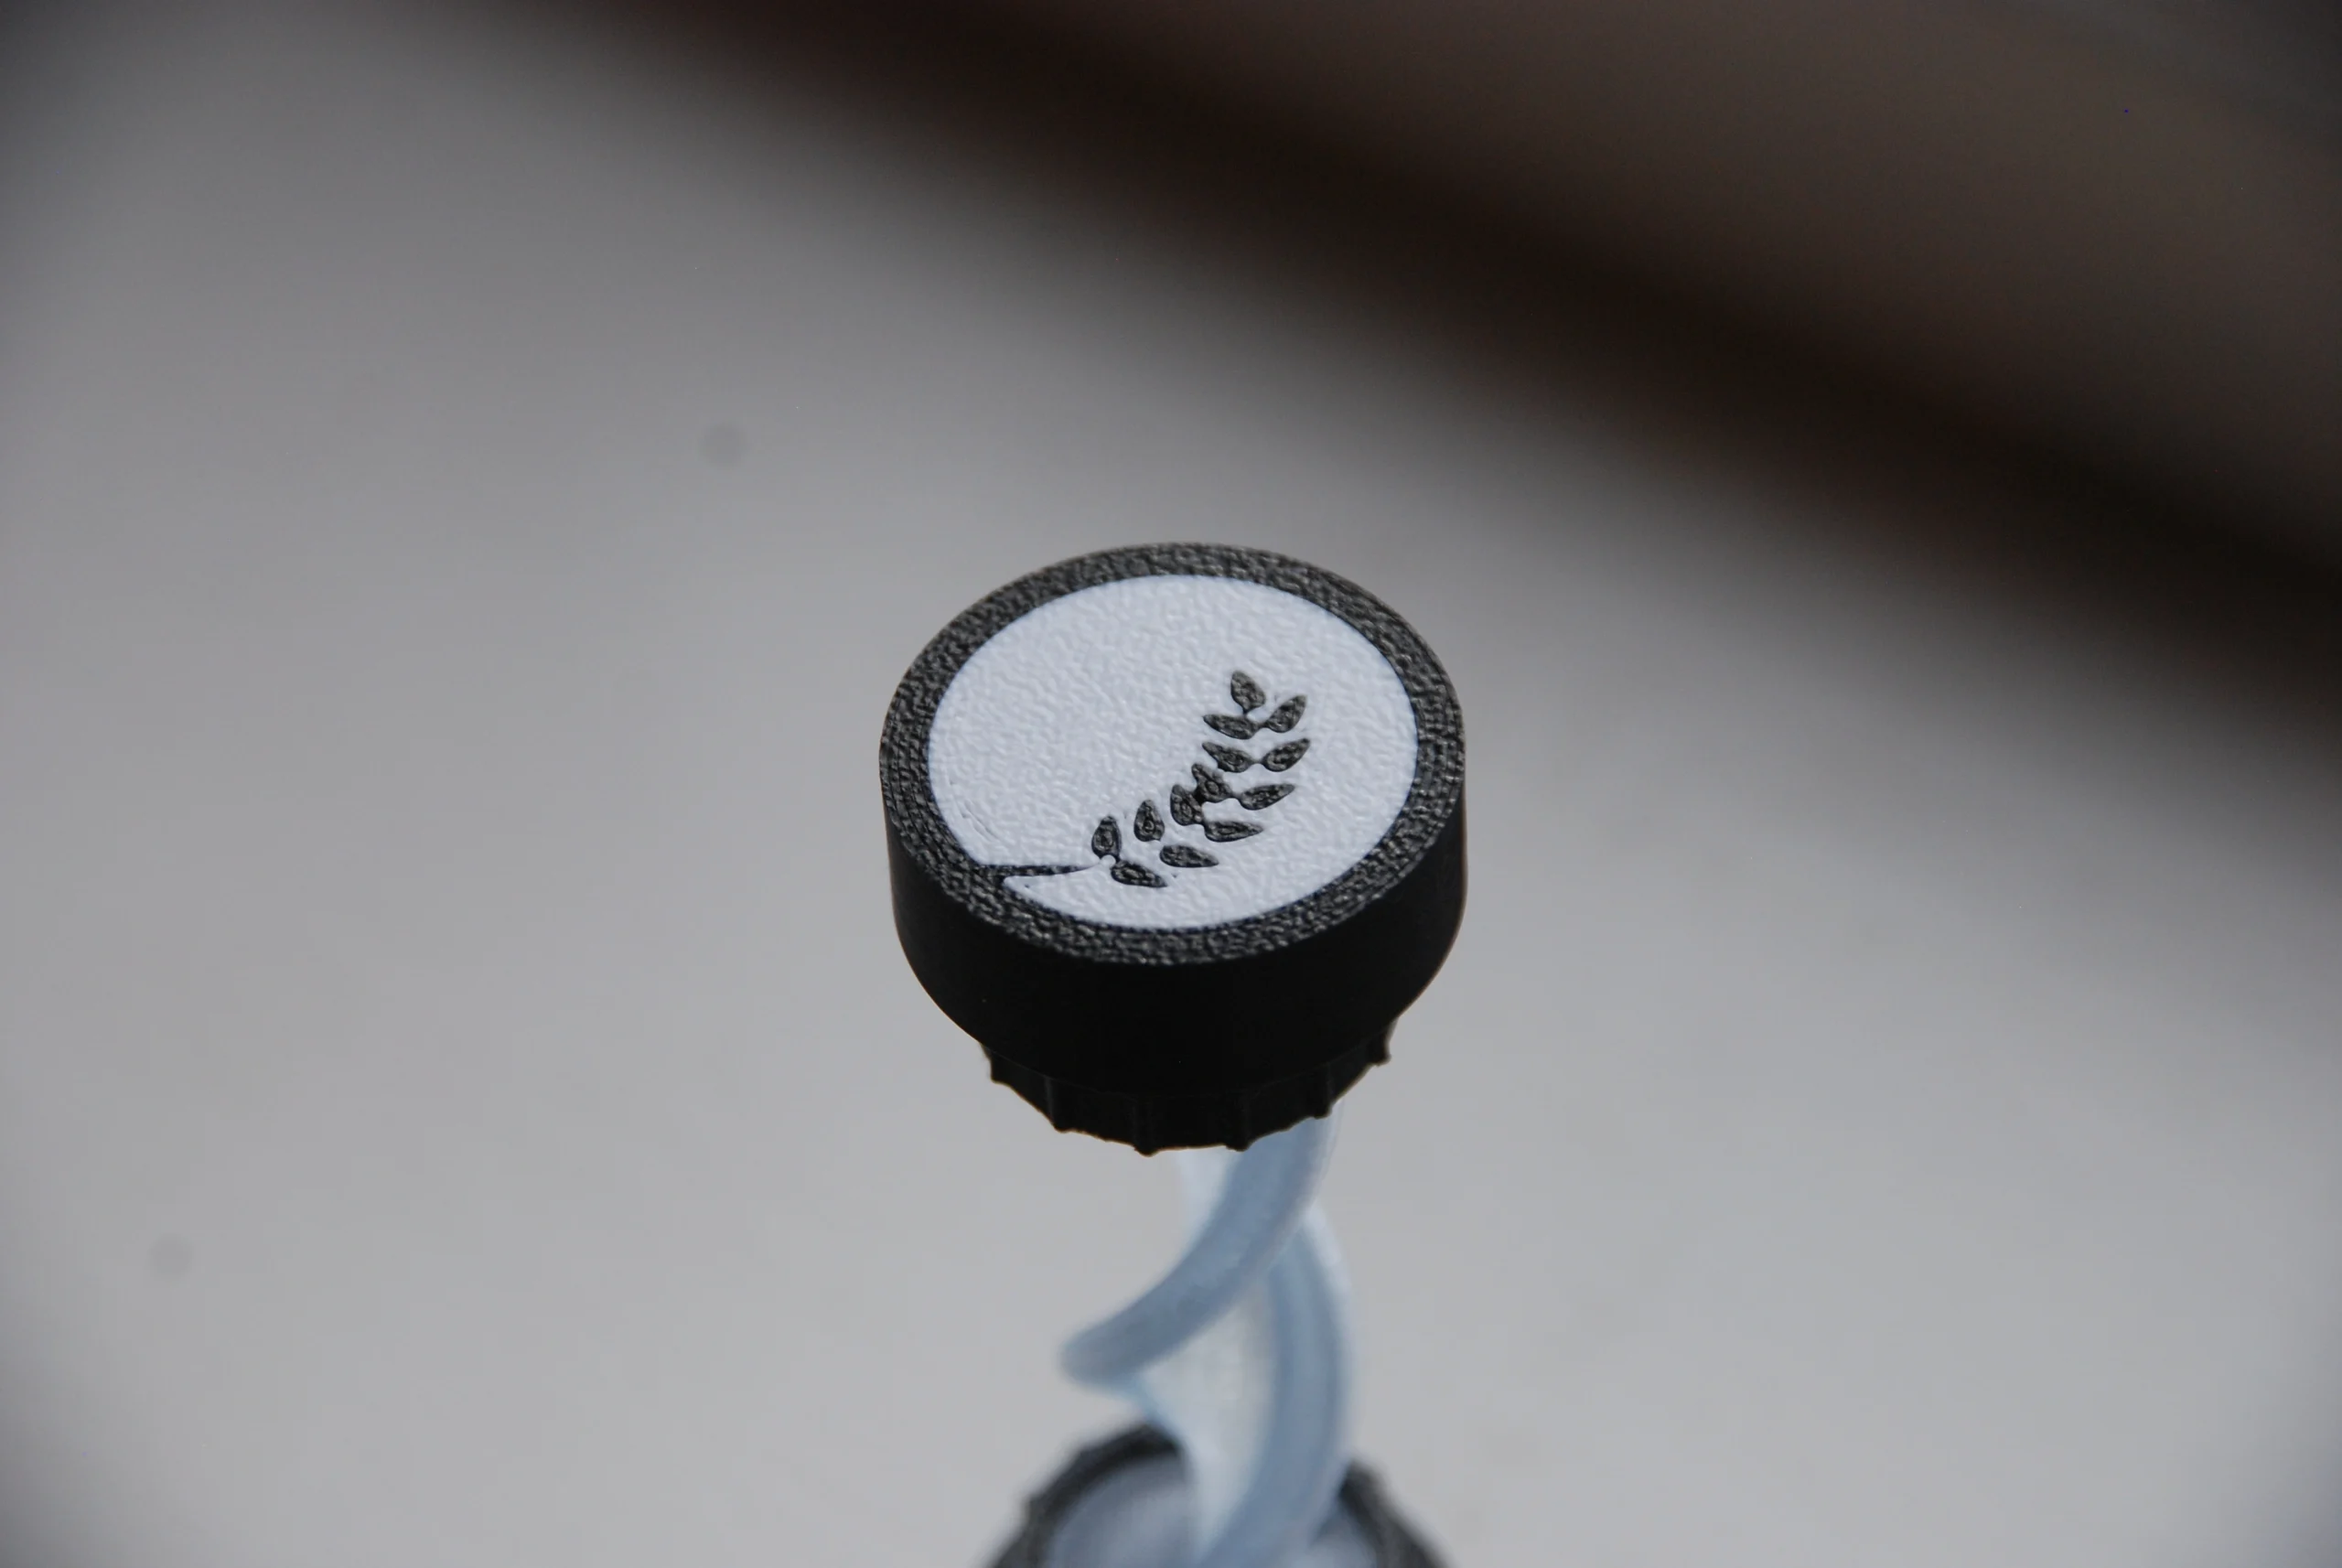
One feature I had to modify was the logo/ text. The large logo on top of the will print just fine as it is entirely in the X and Y axis meaning there is no stepping. However, the text on the front of the product would become so small it would then be illegible at this resolution and the stepping would only amplify this. For these reasons I have chosen to remove the text.
The final consideration I had to make to adapt this design was thickening the spiral. If I were to just scale the entire product down uniformly the centre spiral would become so thin it either wouldn’t print or would be so thin it would snap easily. To overcome this, I strategically thickened the ‘centre section’ of the spiral so it would print but still be as thin as possible to allow for light to pass through. I then thickened the outer two ‘cylinders’ to strengthen the model and make sure it is robust enough to survive more then just its intended use.
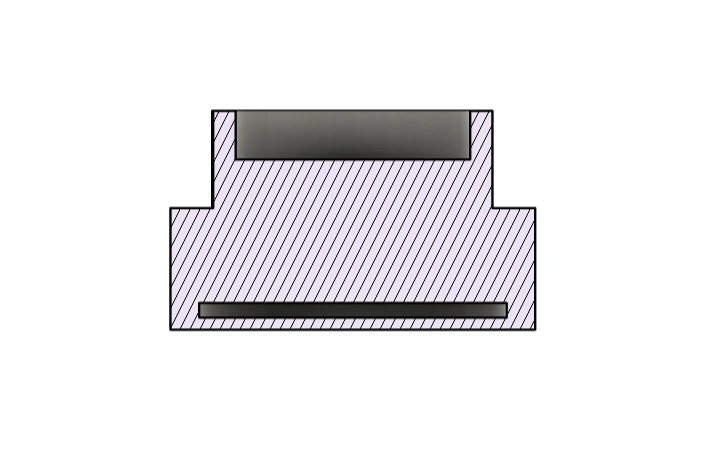
The NFC tag was the hidden hero of this project. It was what set this product apart every other similar one out there. But it came with its won challenges. I had to figure out how to embed the tag within the base of the design without blocking its signal and therefore rendering it useless. I started by identifying the method I would use to embed the tag. I chose to use the same technique as I did to embed the magnet in my Scalpel Case project. I modified the CAD to include a cavity close to the surface of the product. During 3D printing I then paused the build once the cavity had been printed but not yet encapsulated, inserted the tag into the space, and then resumed the build to seal the tag within the product. I did 3 test pieces, each one had the cavity at a different distance from the surface to test the penetration of the tags signal to ensure it was readable.
Sometimes, using this method can cause defects on the surface of the print in the form of a line at the height the print was paused. When pausing the print, this layer in turn cools down much more compared to the others before the next layer is extruded on top. This uneven cooling creates inconsistencies in the contraction which then creates a line at which this occurred. To minimise this I ensured that the print was paused for as little time as possible. The fact that the model was small as well also worked in my favour as it meant any potential defects weren’t as easily spotted.
Similarly to the first project, I chose to use PETG for this project as most transparent materials are PETG. This material also has much better physical properties compared to a more commonly used material such as PLA.
As mentioned before, I had to reinforce the spiral to optimise it for its size. This is important as if I had chosen to just scale it down uniformly the spiral would’ve become so thin it would be either too thin to print or extremely weak. I thickened all features on the spiral independently to create the ideal thickness in each area.
Due to the smaller size of this model, I had no issue with the nozzle dragging the top of the spiral as it was also more reinforced. I also chose to use 100% infill but not purely for strength purposes like the original project. In this case (but also the previous case) because the chosen material for the spiral is transparent the infill pattern will be visible. Therefore, I have chosen to make the spiral entirely solid to hide all signs of infill and provide a better finish.
During this project I ran into a number of challenges. The largest one of which was the instillation of the NFC tag within the base of the product. More specifically, these tags had an adhesive backing which needed to be removed, this adhesive prevents the tags from shifting once installed and the printer is printing the subsequent layers on top. It also needs to be removed as t creates an added thickness to the tag which could potentially effect the tolerances of the cavity within the base.
After a large amount of trial an error, I identified a hook and pick set as the optimal method of removing these tags. Increasing the efficiency of removal of the adhesive backing reduced the time it took to instal them, meaning the print was paused for much less time and in turn reduces the potential for surface defects caused by uneven cooling as discussed above.
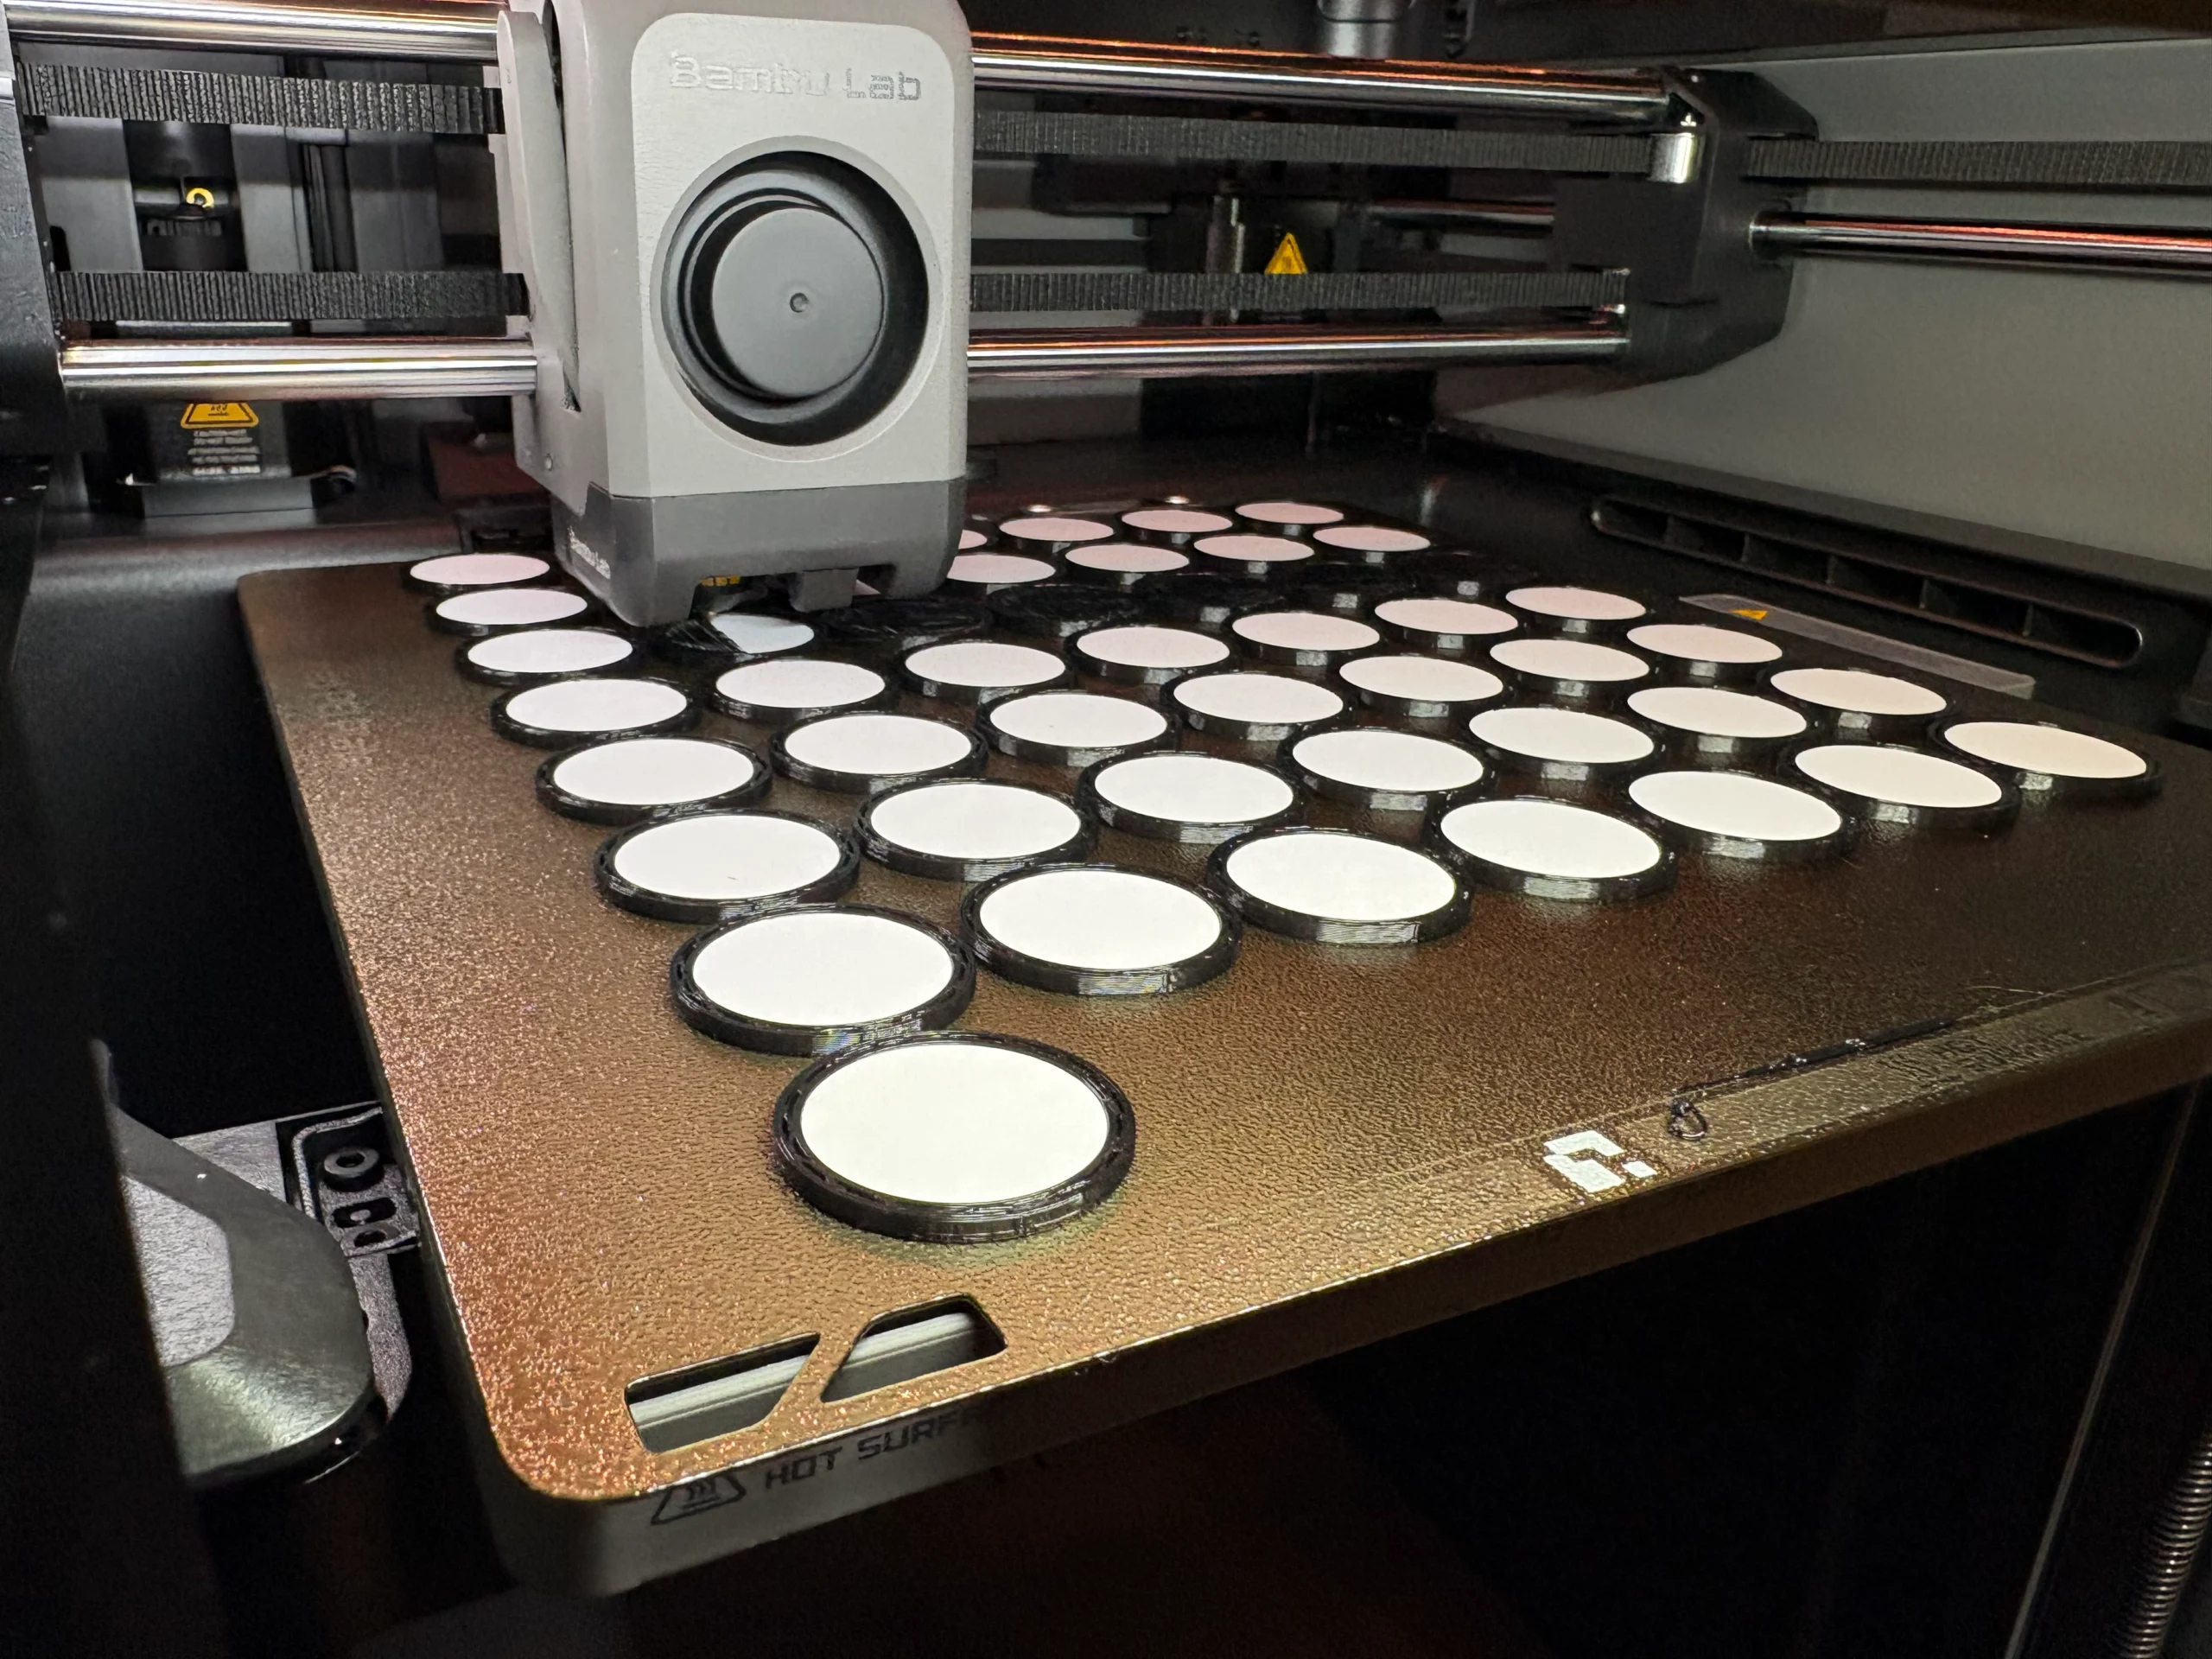
Quality control was a very important part of this project as the models will be handled directly by stakeholders so looks are everything. I ended up scrapping about 4% of all of the bottom pieces containing the NFC tags. This was because occasionally, when printing the next layer on top of these tags the plastic wouldn’t adhere to the NFC tags causing it to bunch up into blobs and cause surface imperfections.
Since completing this project, I have come across a method used for embedding magnets into prints whereby the operator will coat the top of the magnet in glue to provide a tacky surface. Although this is intended for magnets, I see no reason why it wouldn’t work for these tags.
The fact that the client returned within days, not only ordering two additional units but commissioning a smaller keychain-sized version as a giveaway for stakeholders, was the most meaningful validation this project could have received. It confirmed that the model had achieved exactly what it set out to do: represent O2 Agri’s technology in a way that resonated with the people in that room.
Caroline’s response upon receiving the models summed it up well:
Inset Reference Here Once Received
Caroline Wellon